This guide will teach you how to:
- Enroll in Ezlo VOI™
- Test the Ezlo VOI™ commands
- Create scenes to automate the Ezlo VOI™ functionality
- Unlink account
Enrollment
1. To start the enrollment open the main menu where you will see an option "Ezlo VOI™"

2. Elements on "Ezlo VOI™" page:
a. If there is no voice assistant configured yet, a default message is displayed on the page
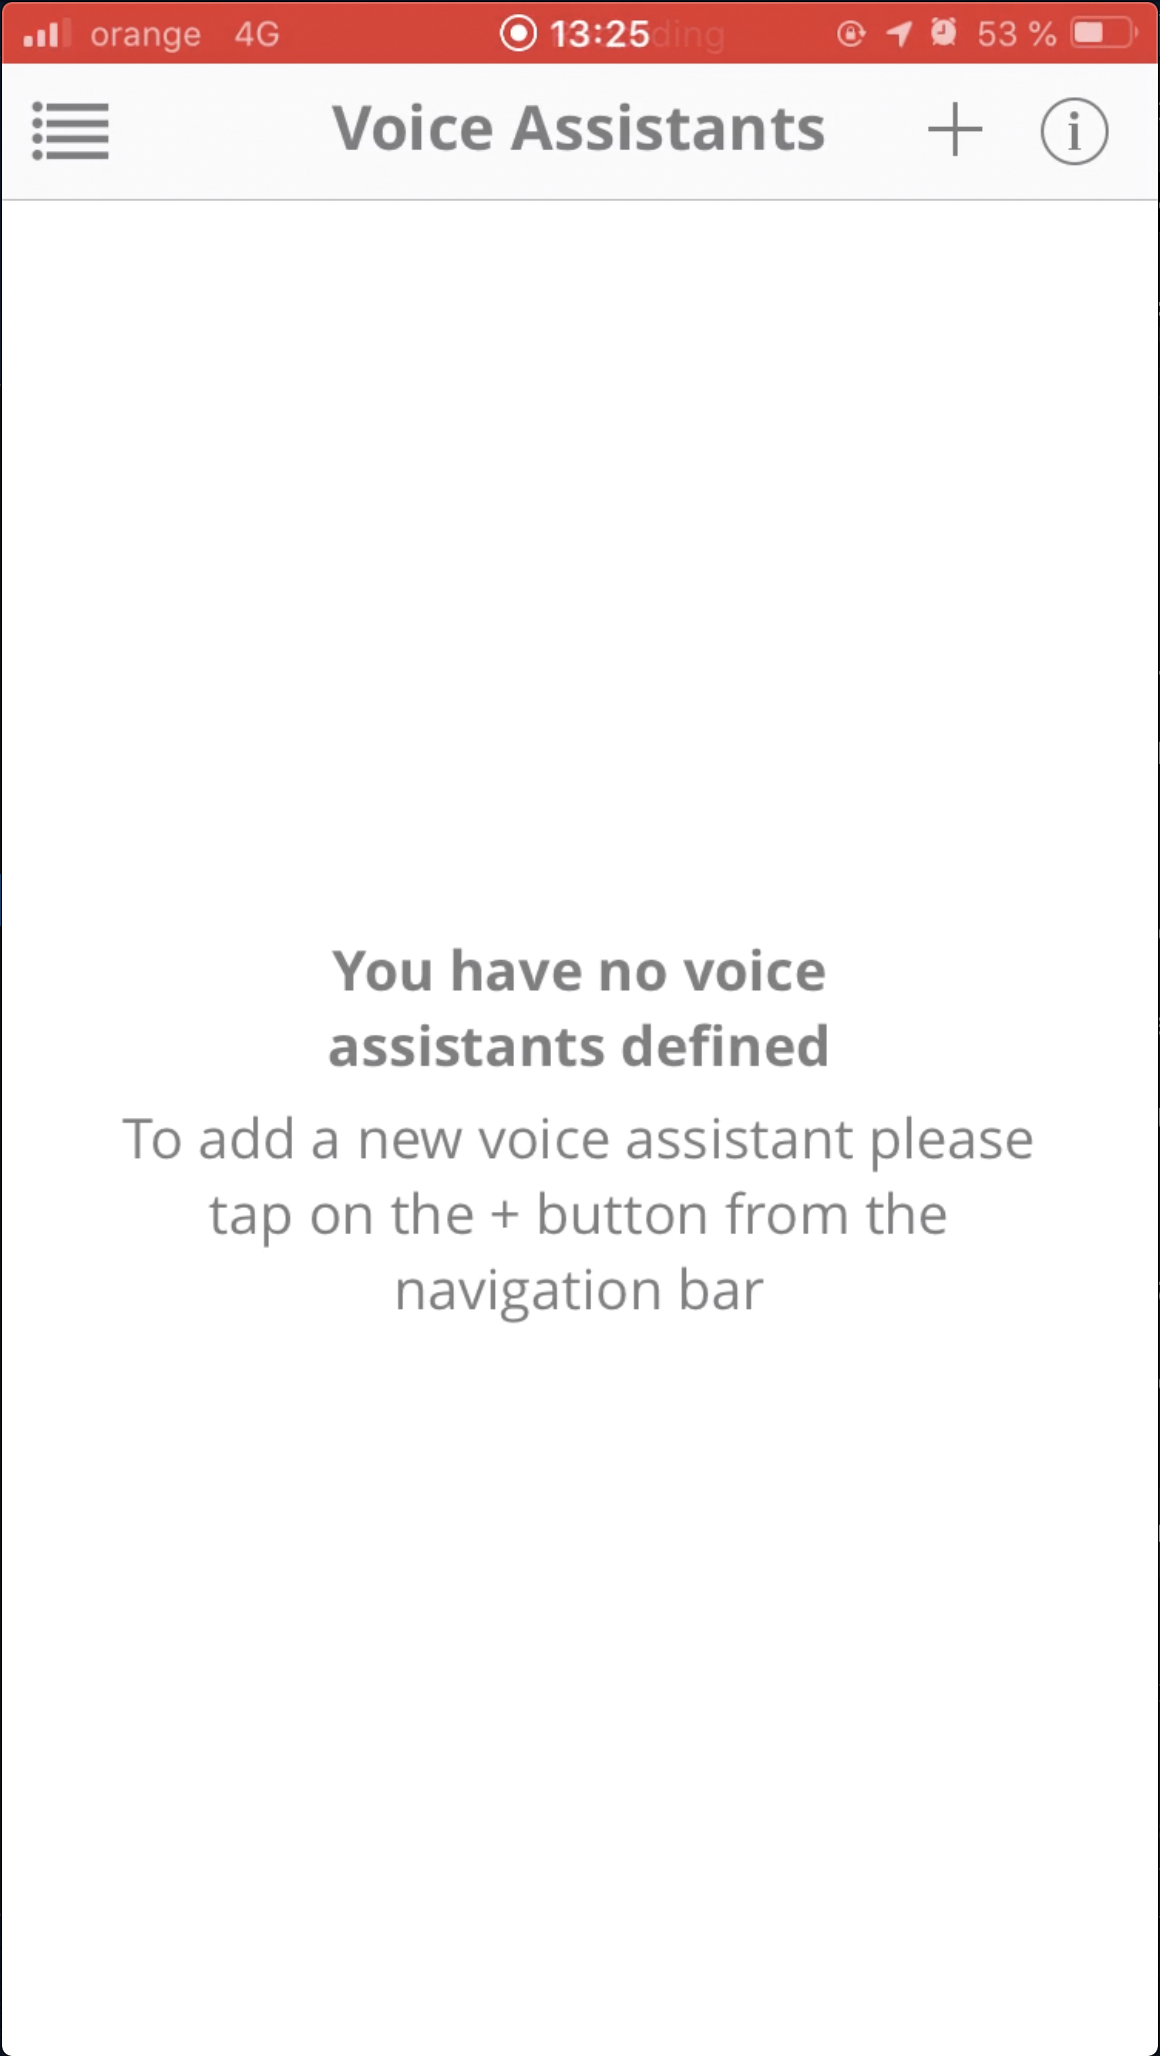
b. Under "Ezlo VOI™" page you will have a "+" button that opens the list with the available voice assistants that you can enable:
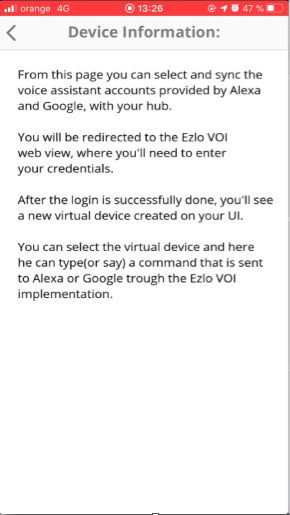
c. Info button
3. Select your system page: Here you will see the 2 voice assistants, Amazon Alexa and Google Home
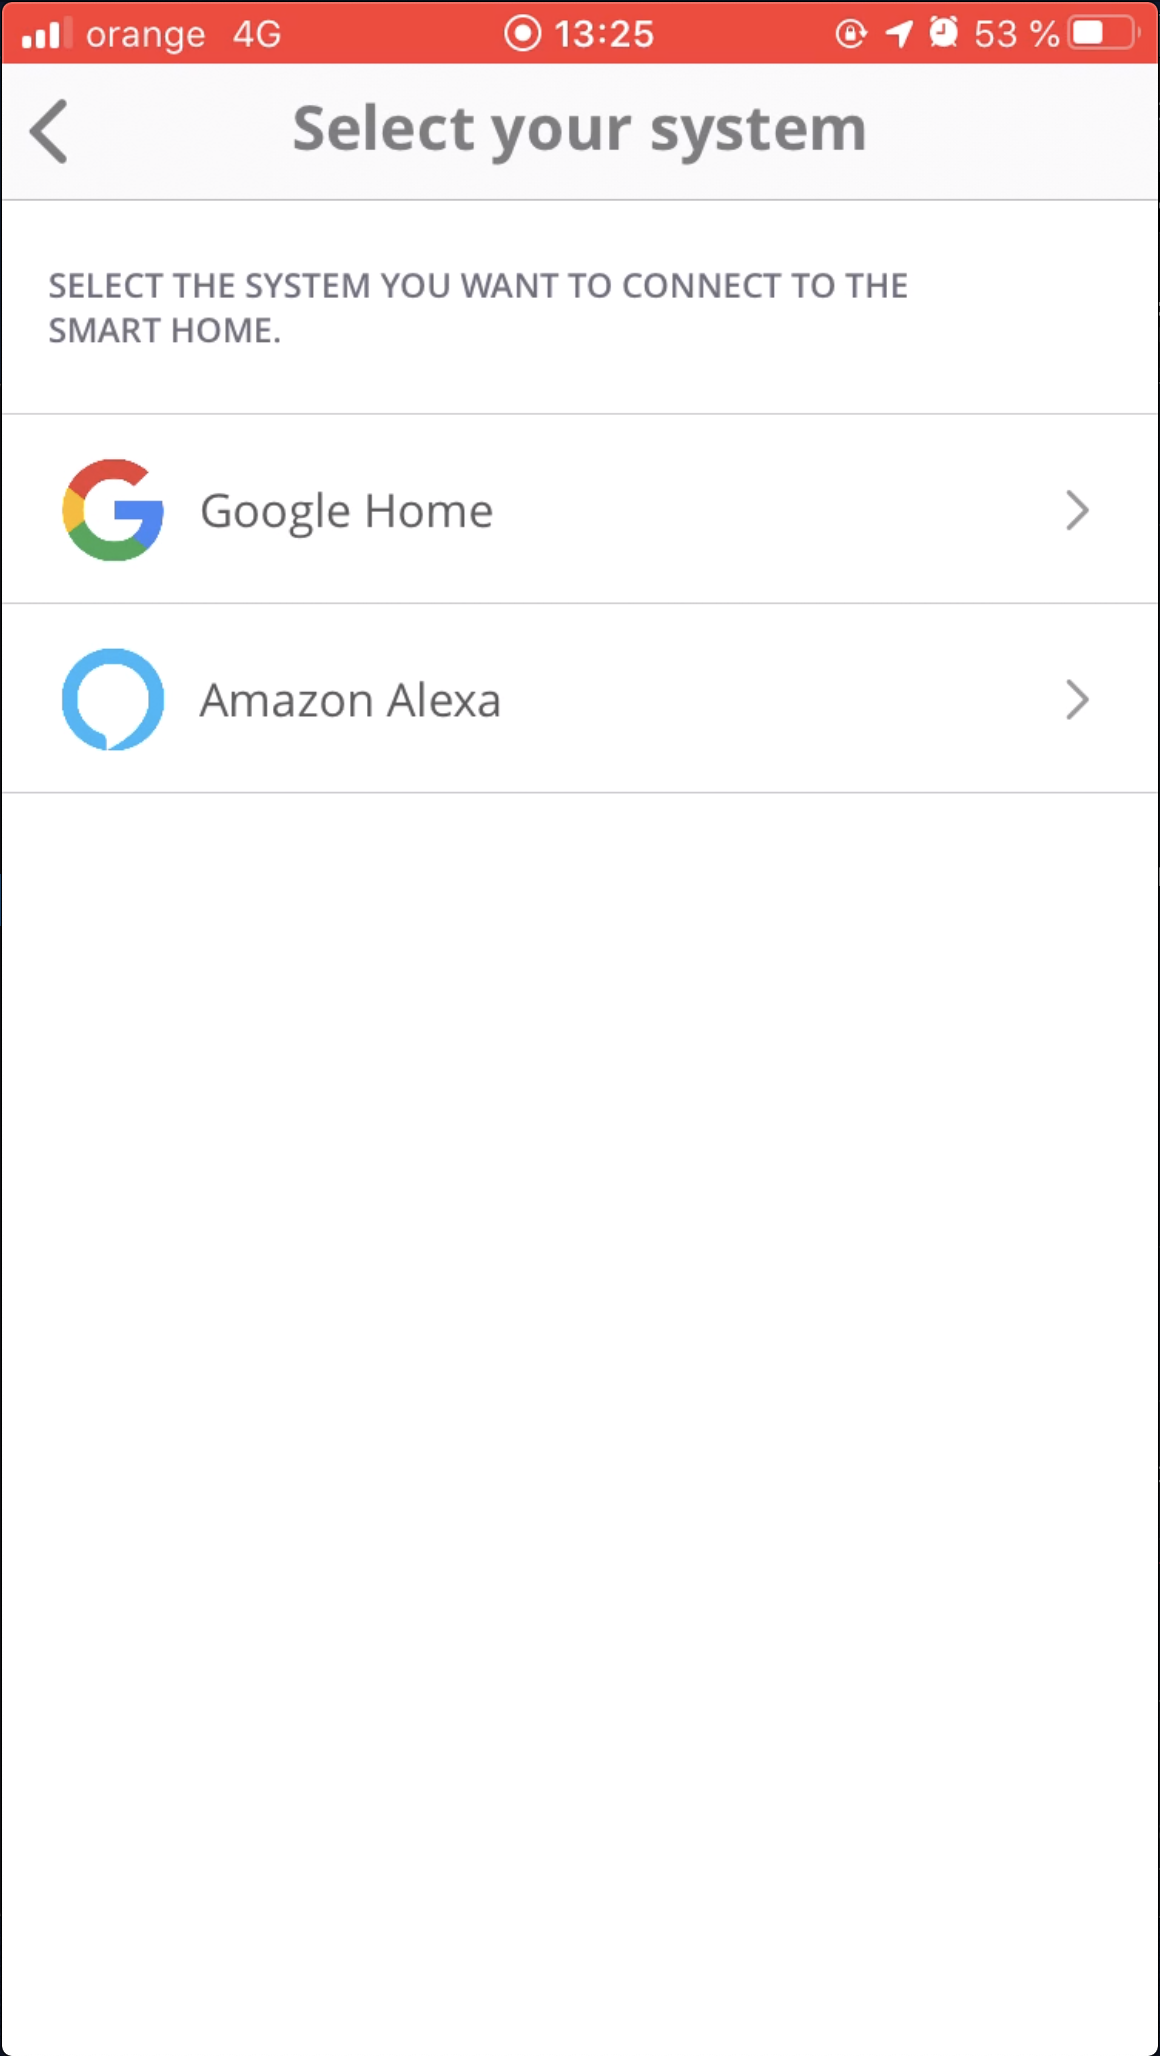
4. Enrollment starts when you tap on an item from the voice assistants list, for example on Alexa
5. You'll be redirected to a Web View where you need to enter your credentials (these will be the credentials used for the Alexa/Google home account)
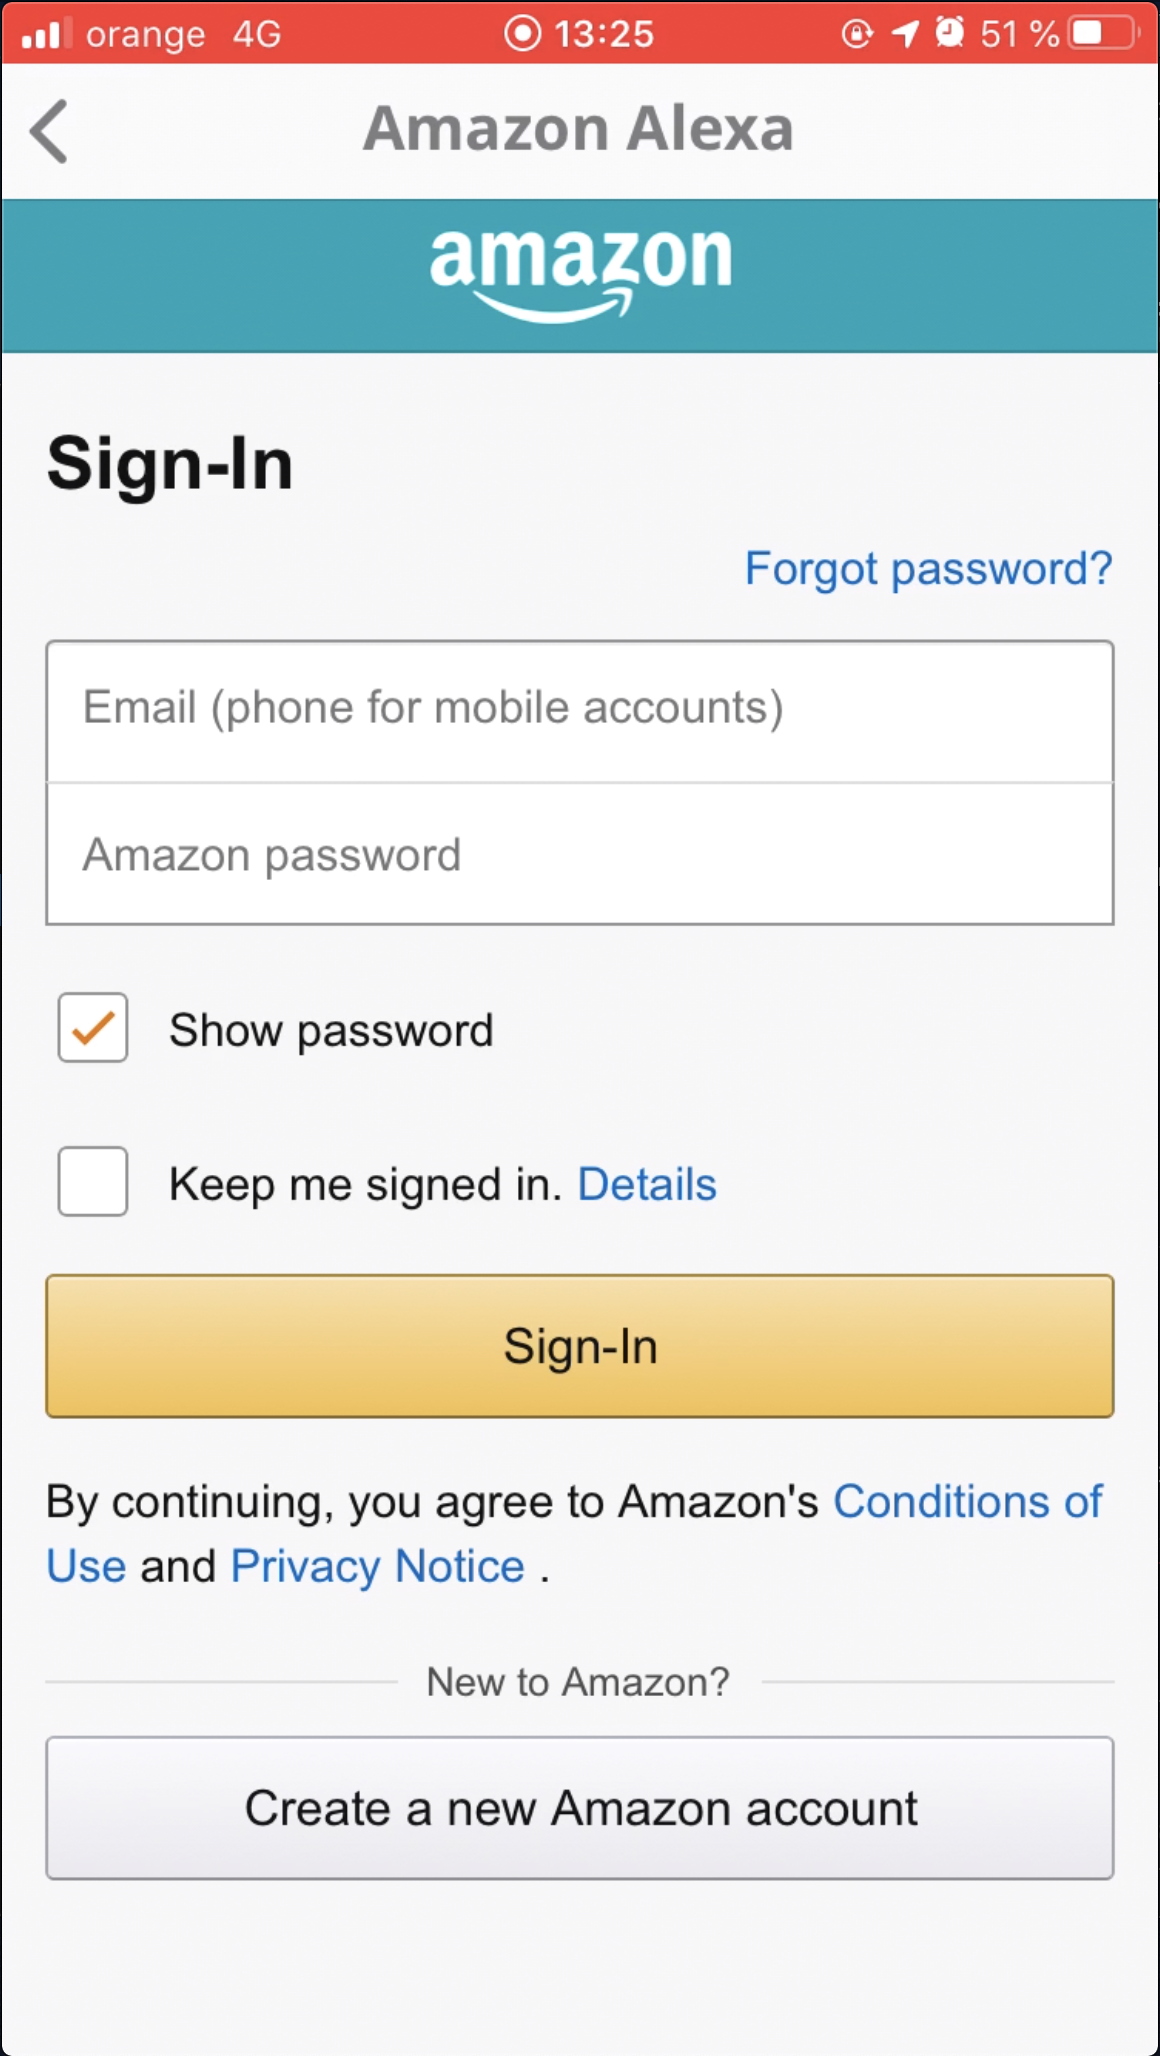
a. If you do not have an Alexa/Google home account yet, you will need to create a new one in the Web UI form.
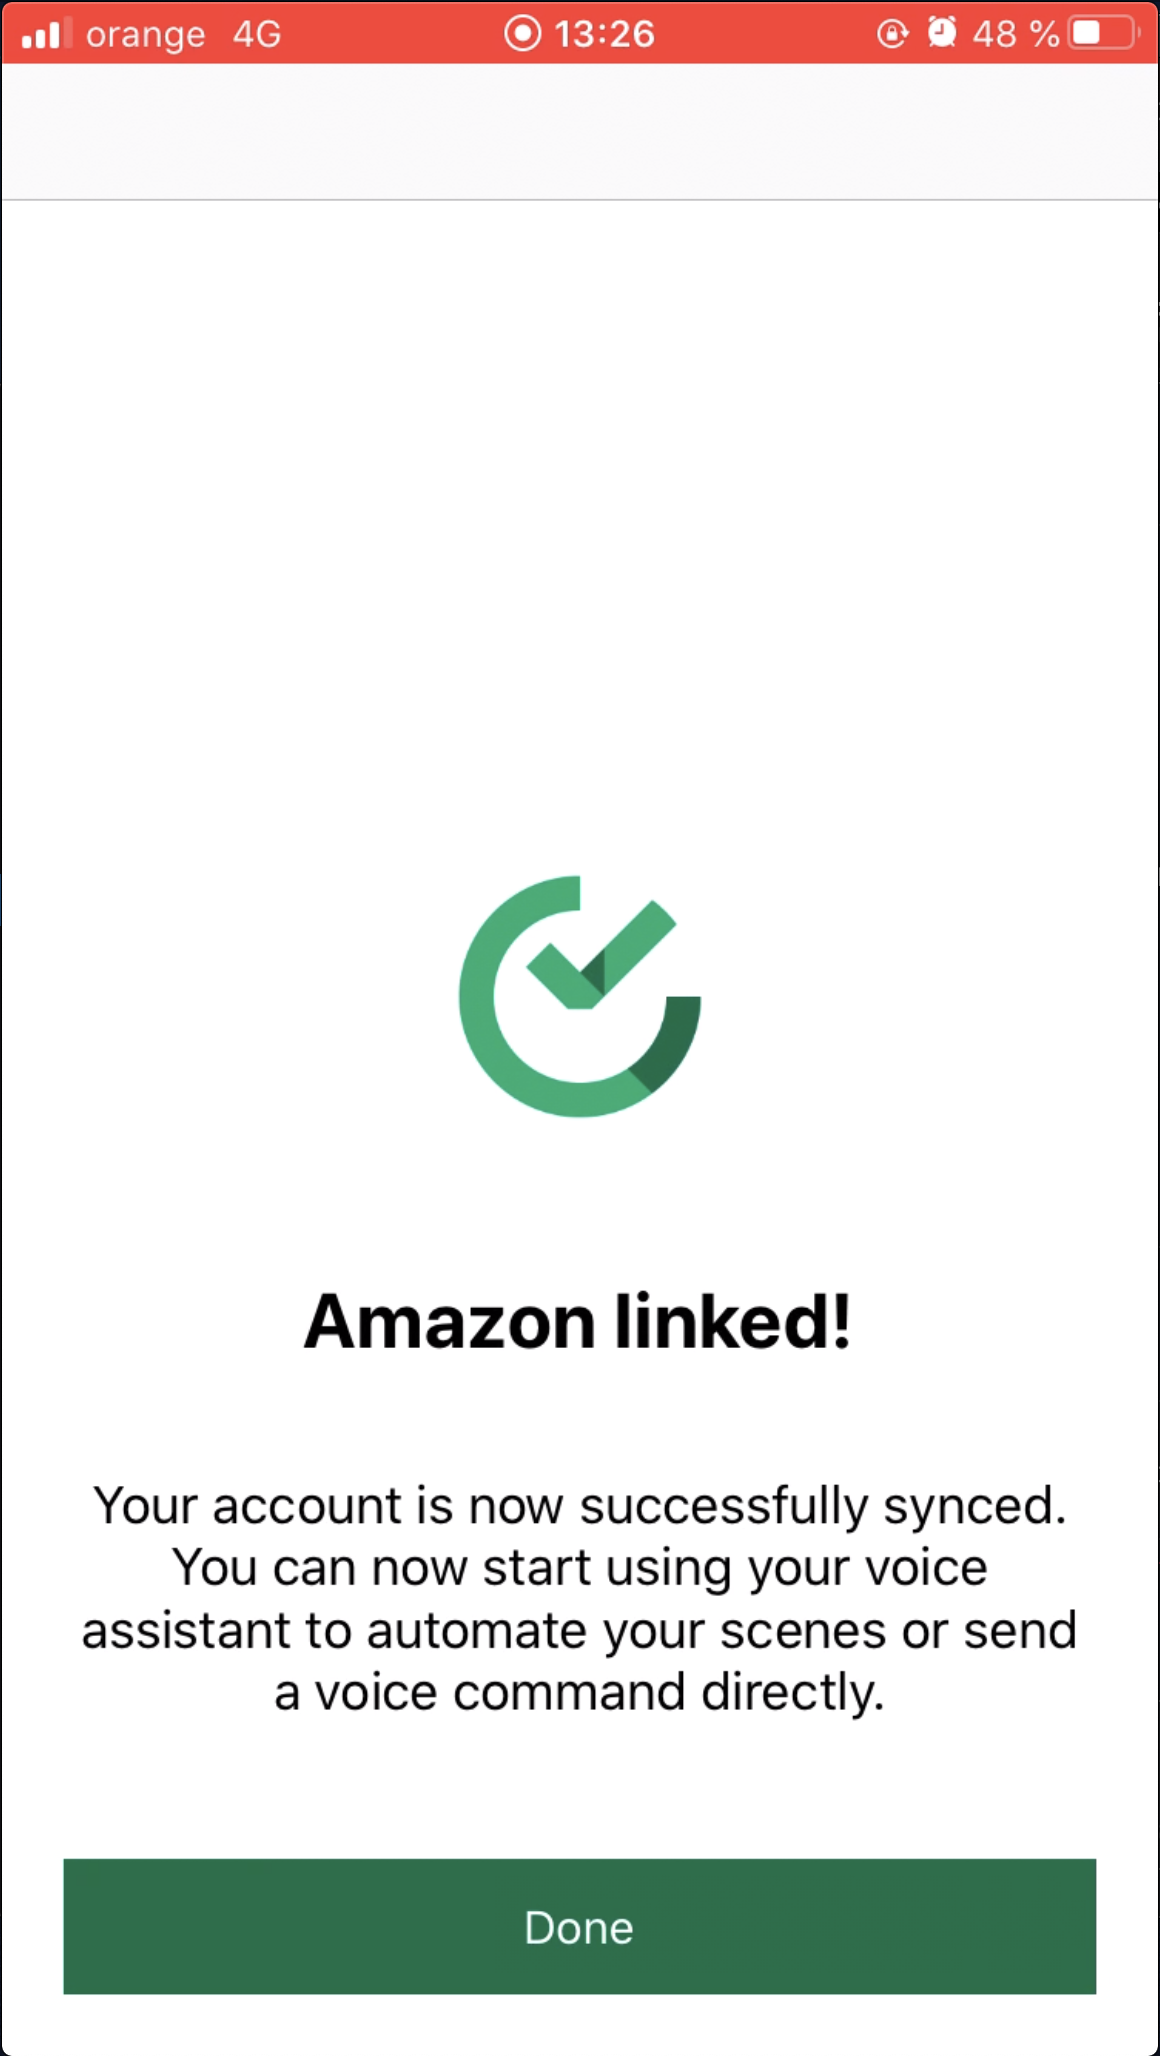
b. At the end of the Ezlo VOI™ enrollment, you will see the confirmation message
Devices
1. You can see on Devices and on Ezlo VOI™ tab the voice assistant devices connected to your Vera app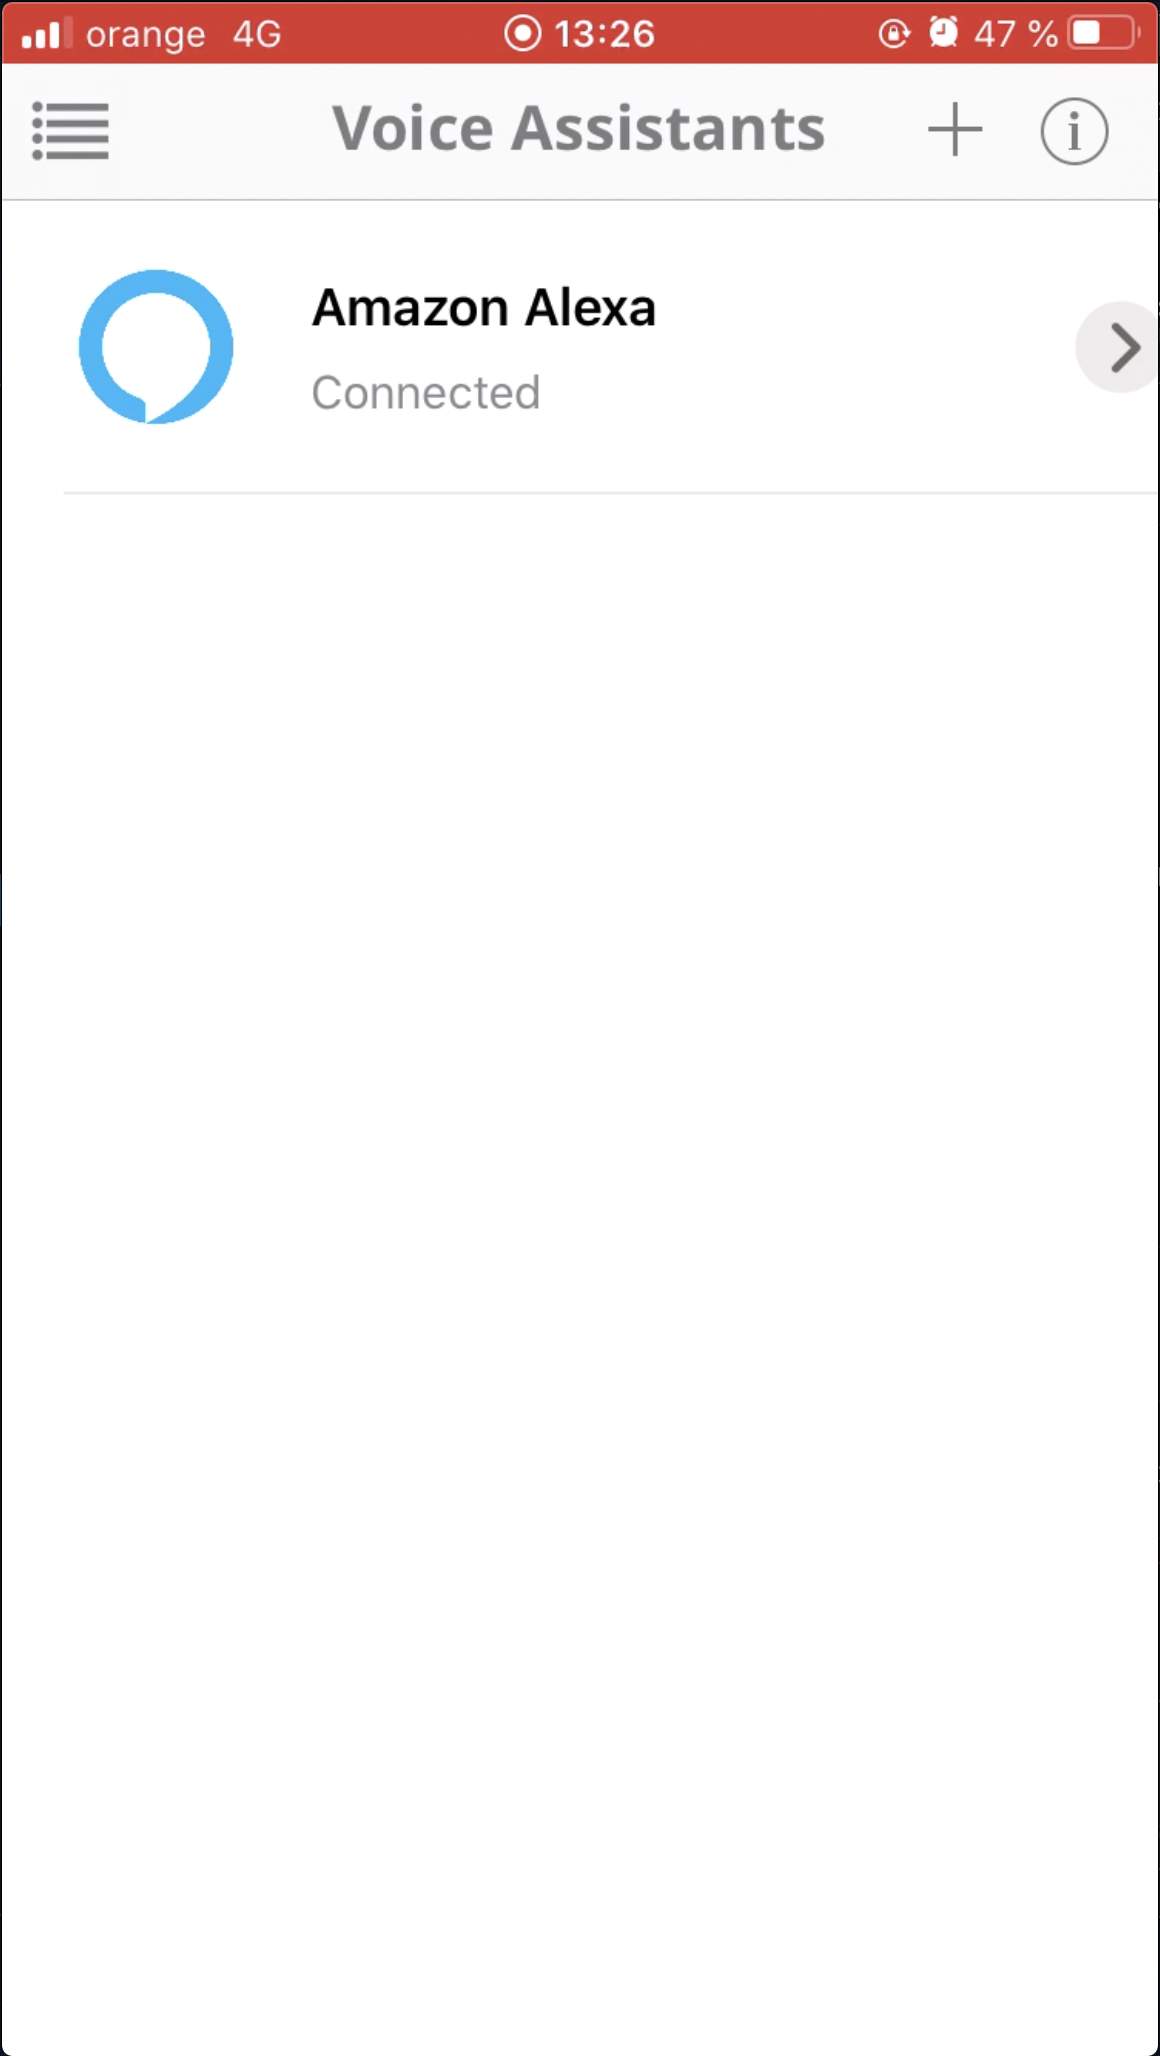
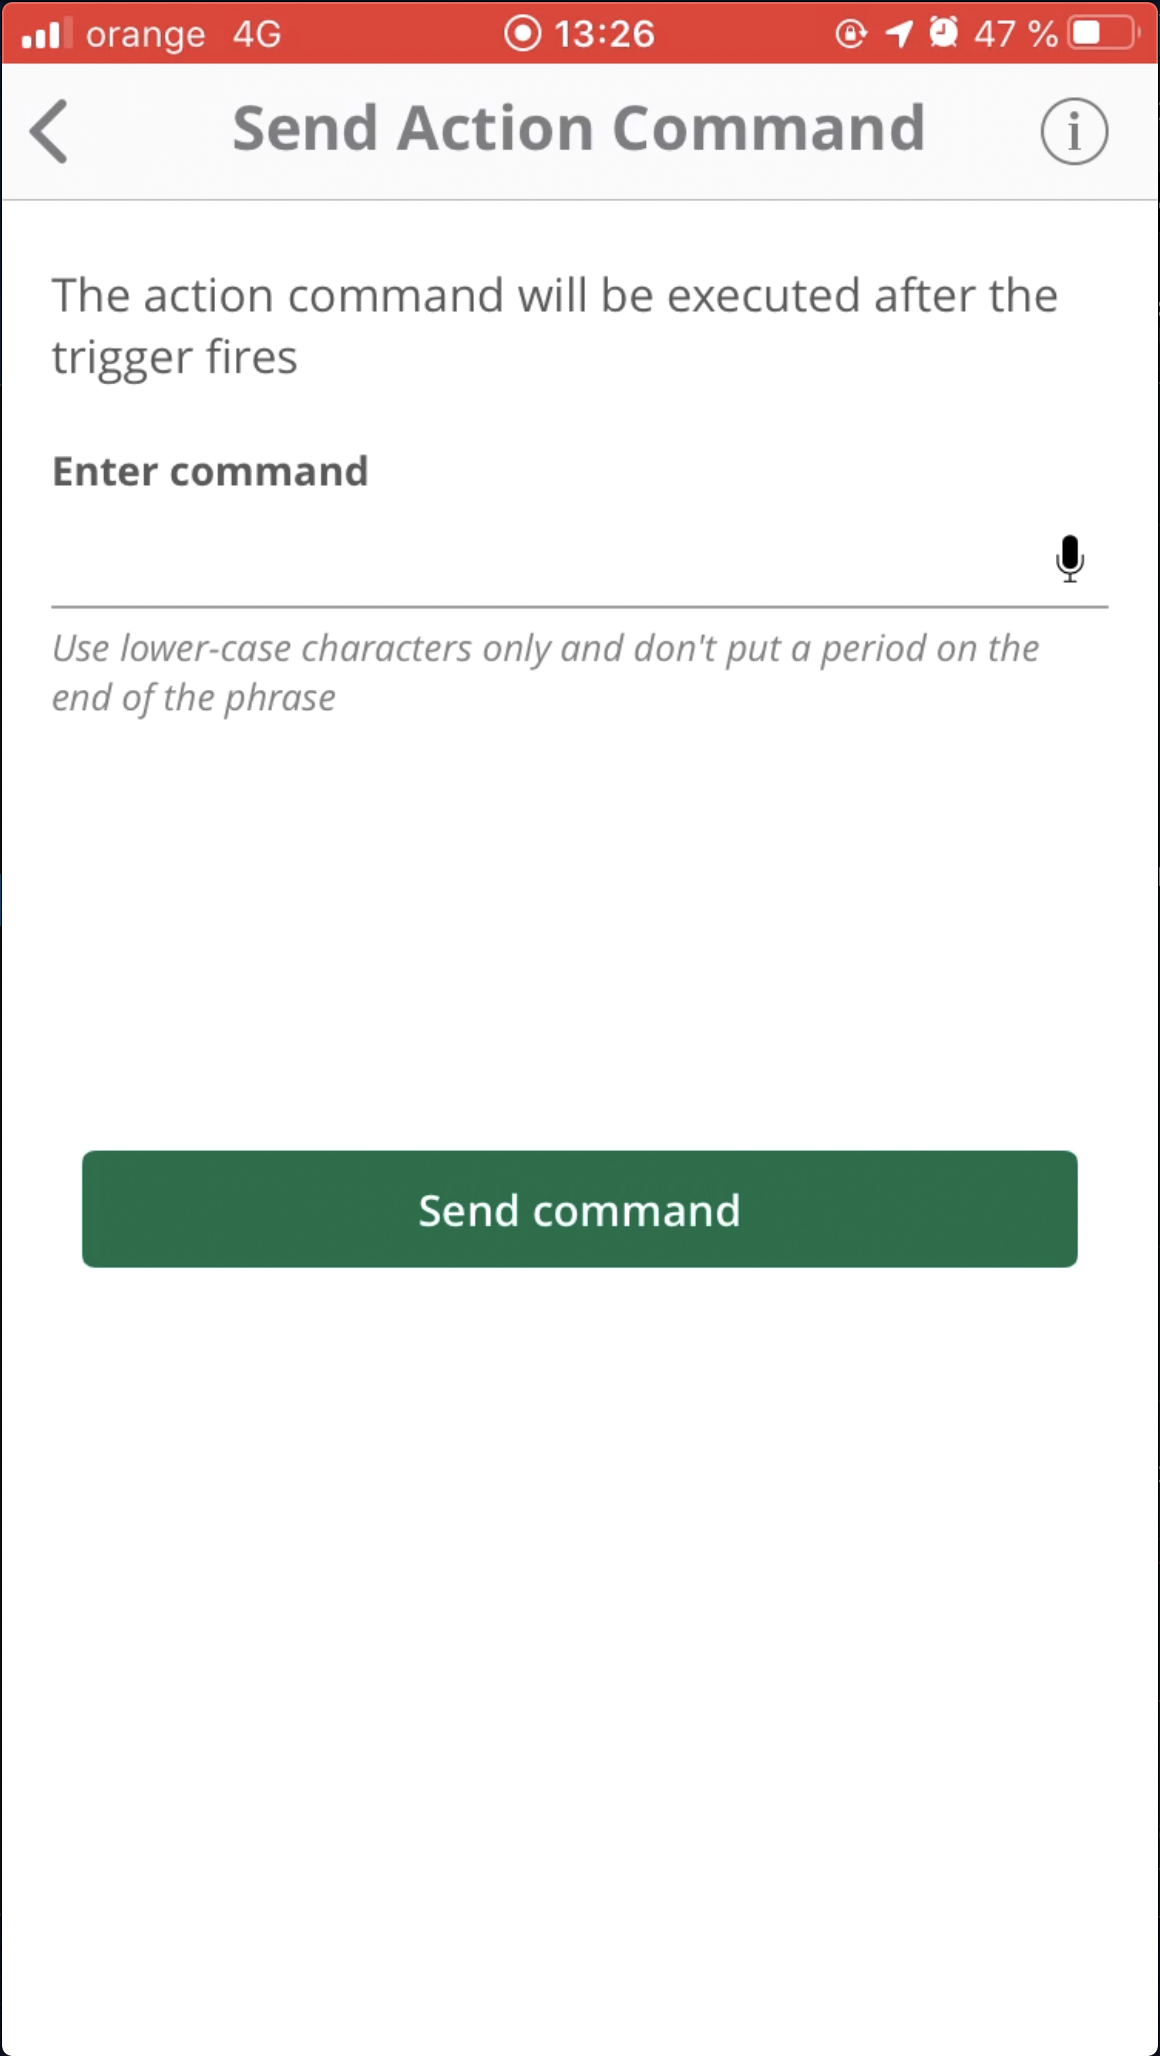
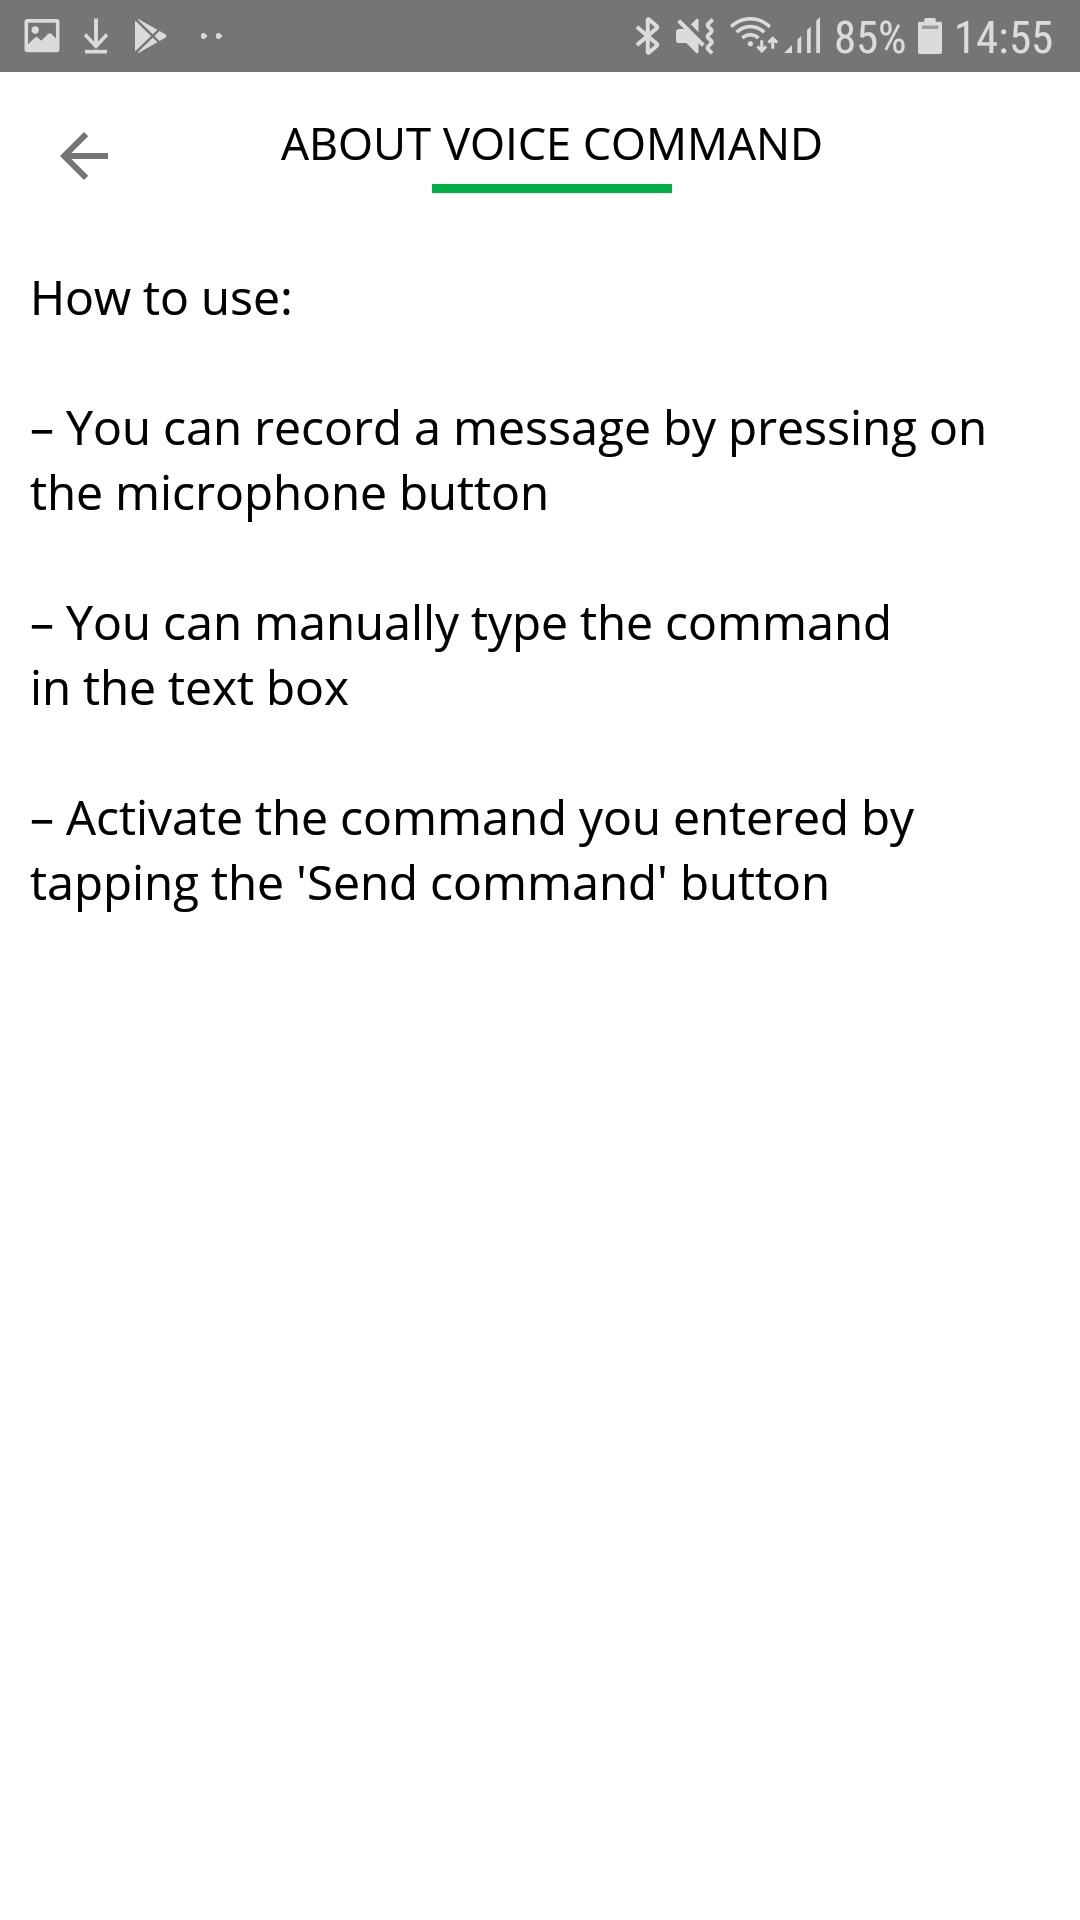
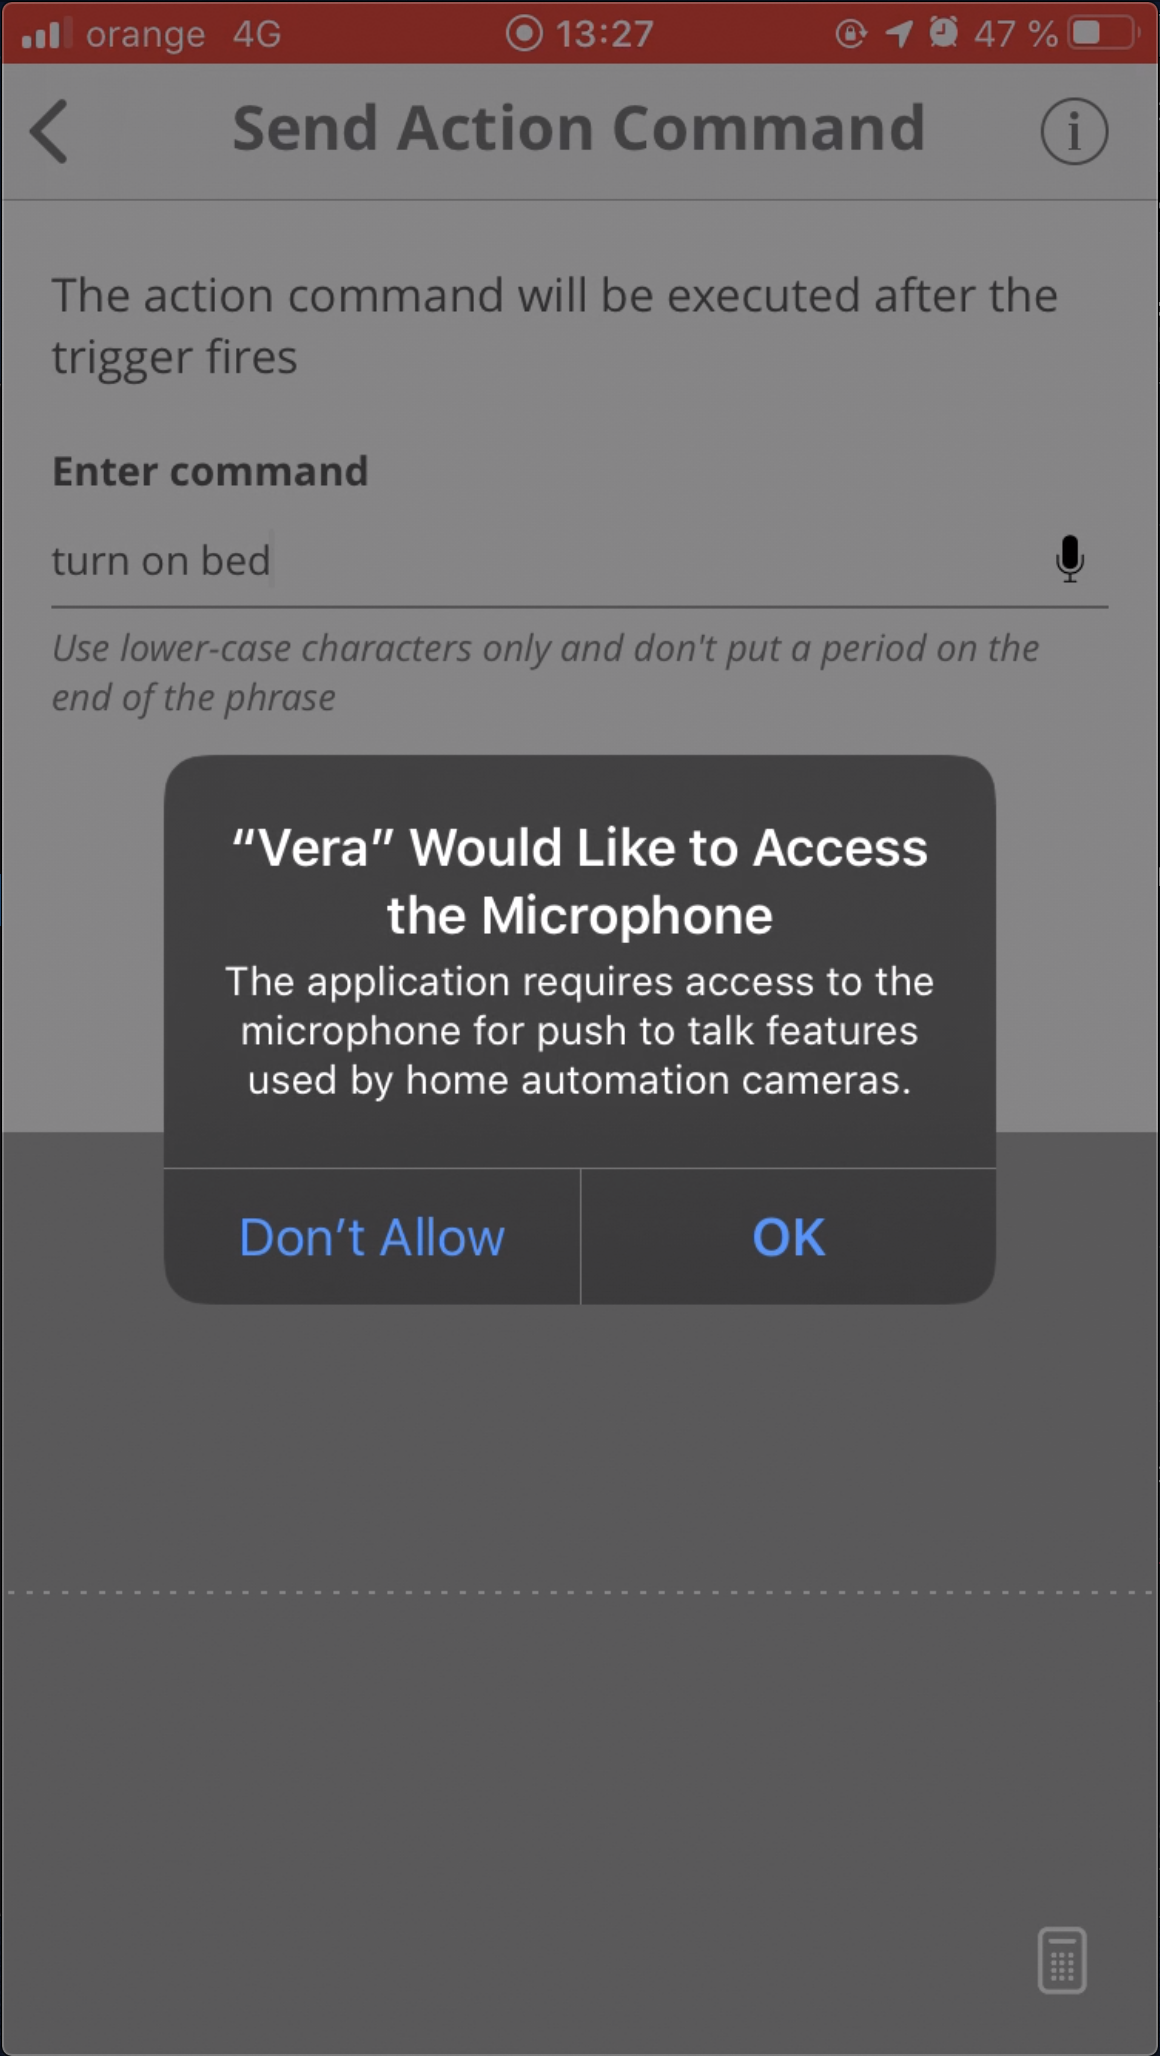
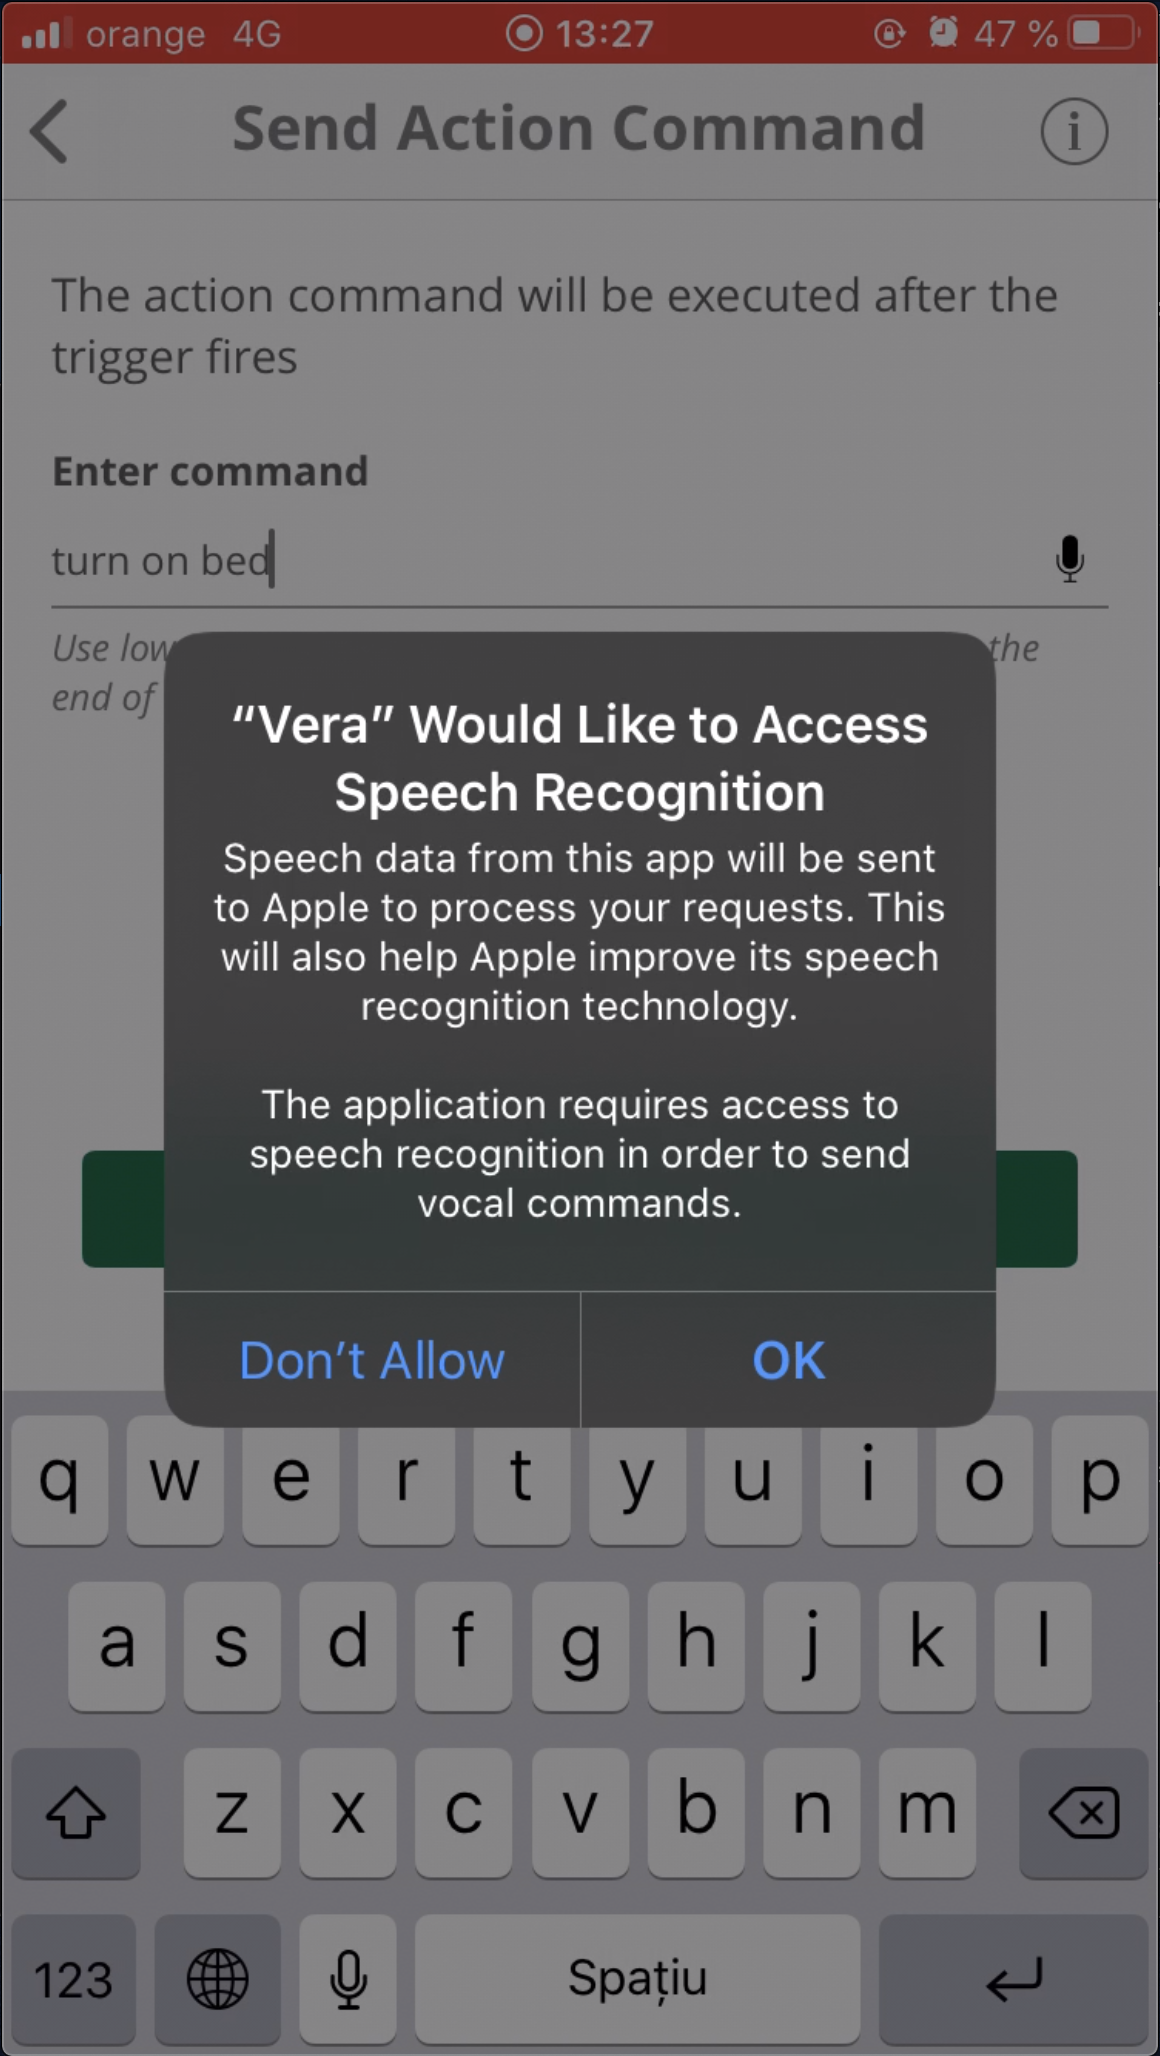
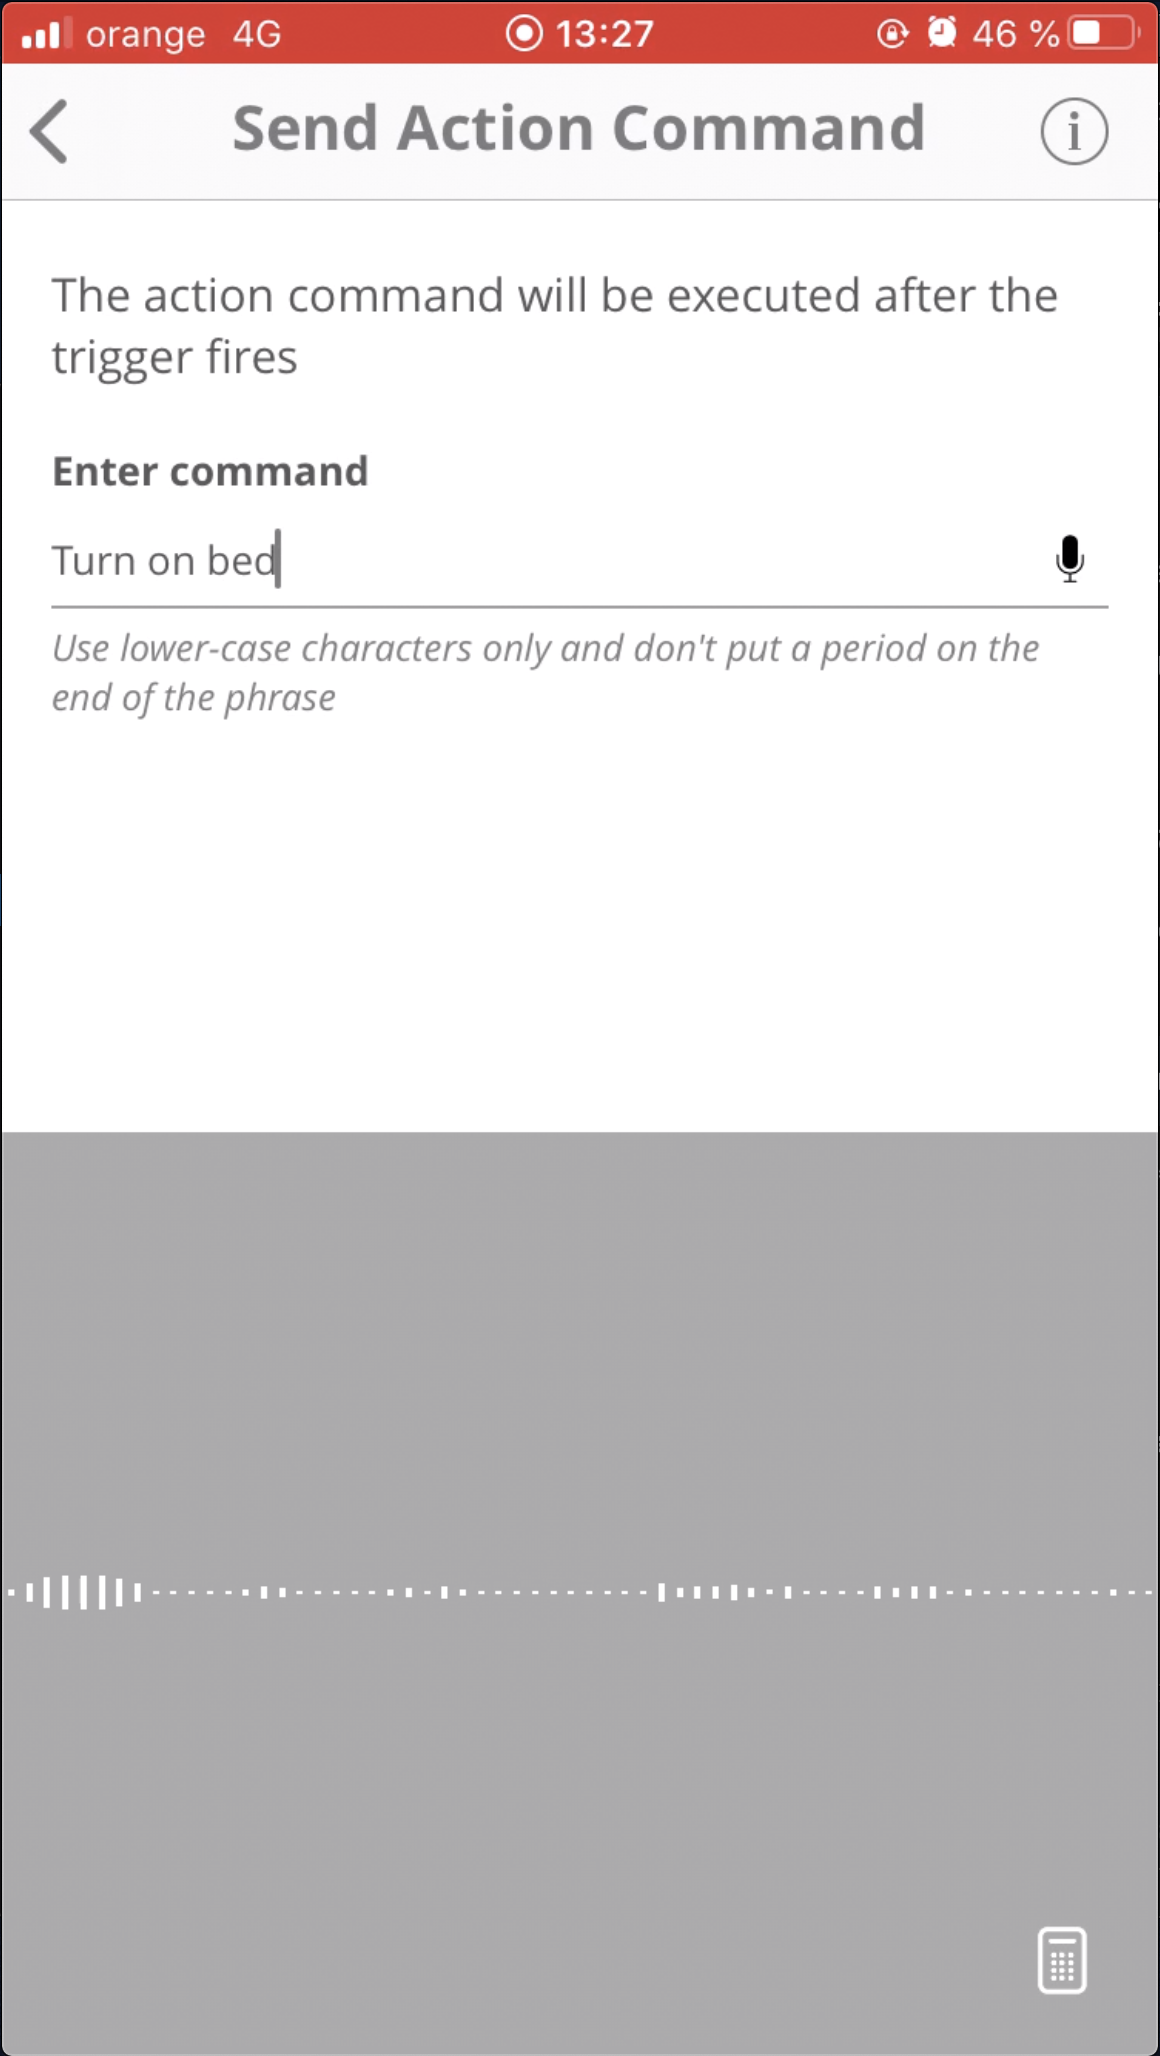
2. You can test the Ezlo VOI™ commands by going to the device settings, then to Send action command page. Here you can either write a command on tap on the microphone icon and say the desired command. After the command is entered, you need to tap on the Send command button.
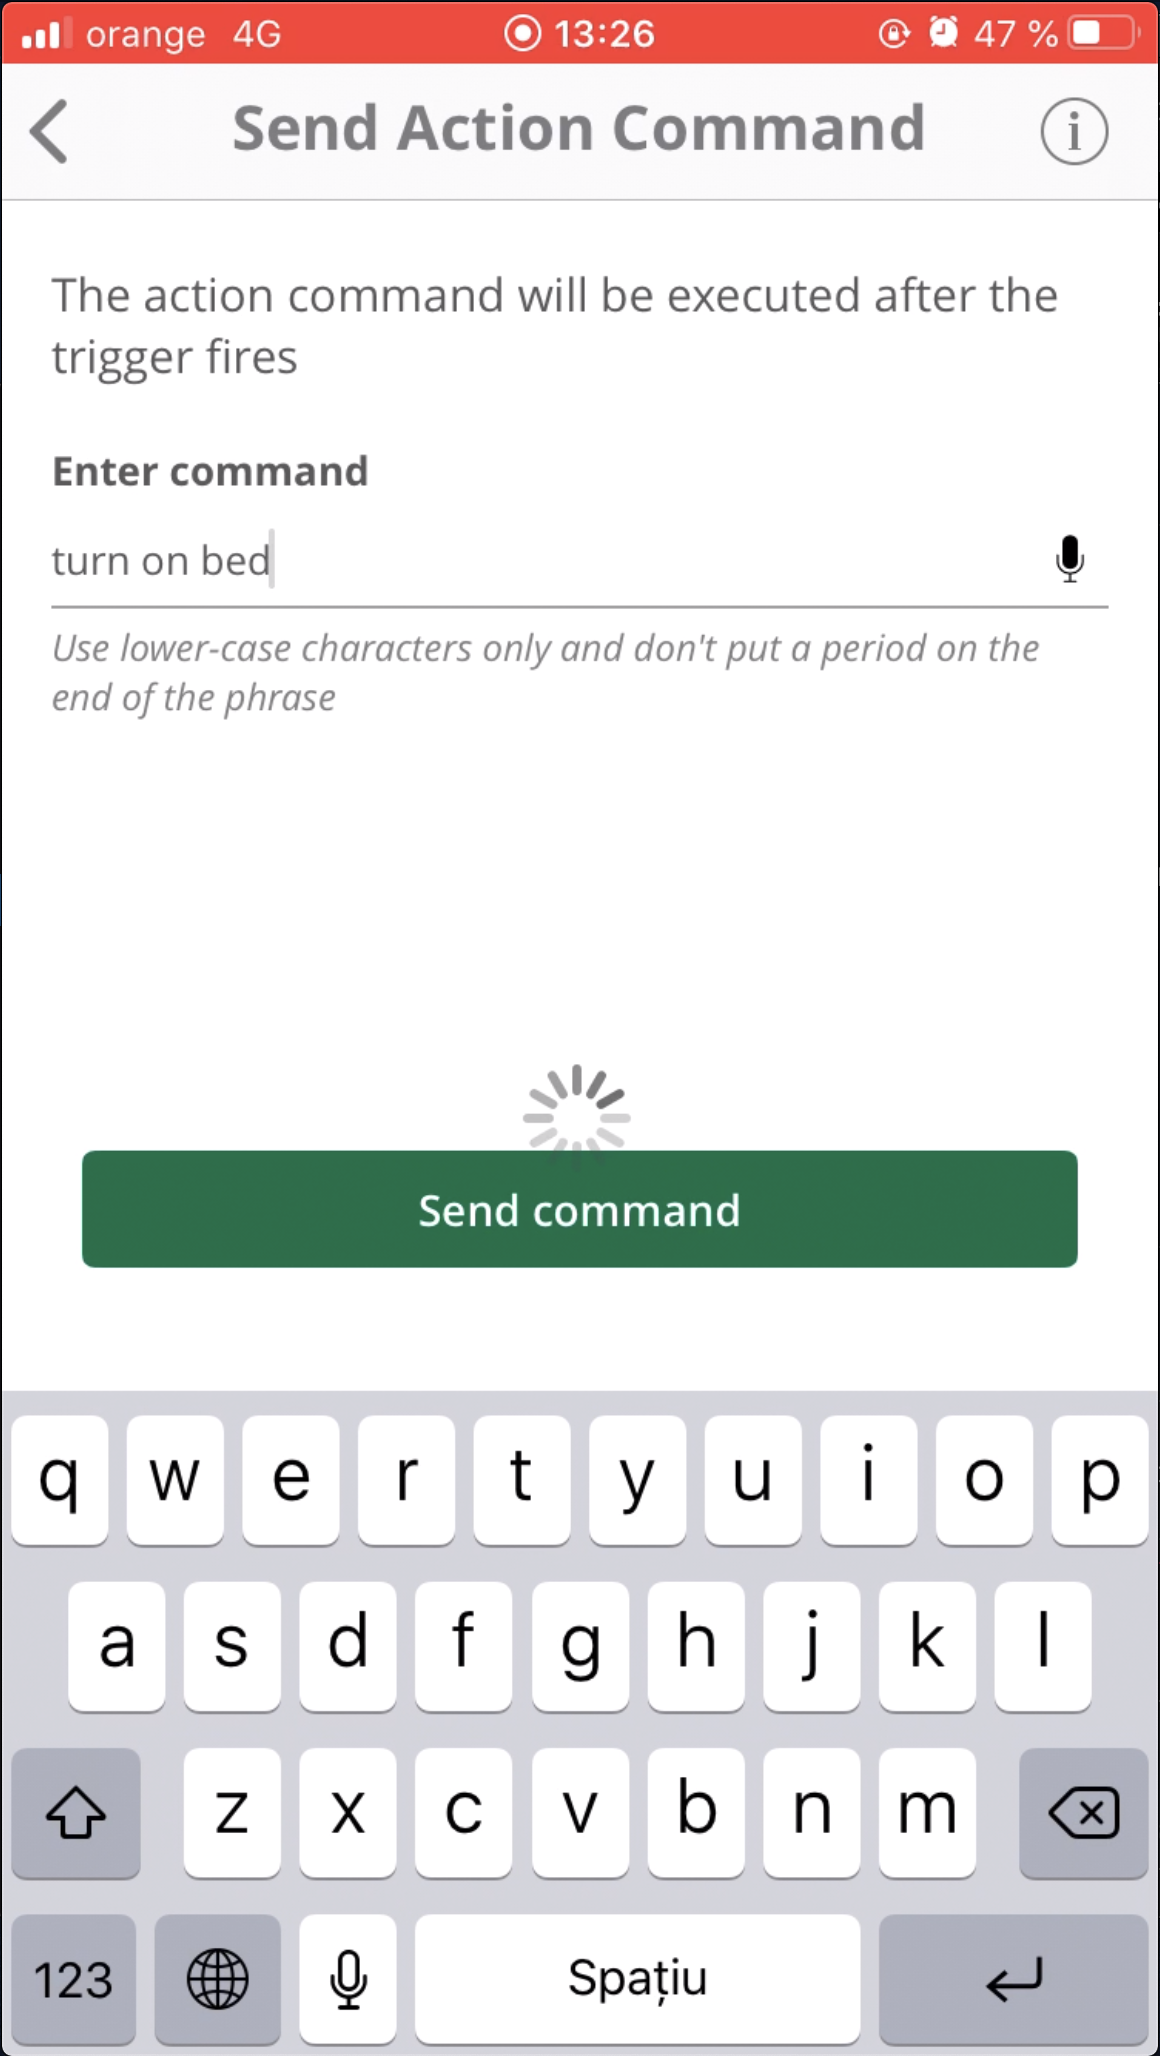
3. In order to use the mic, you'll be asked to enable access to it
Scenes
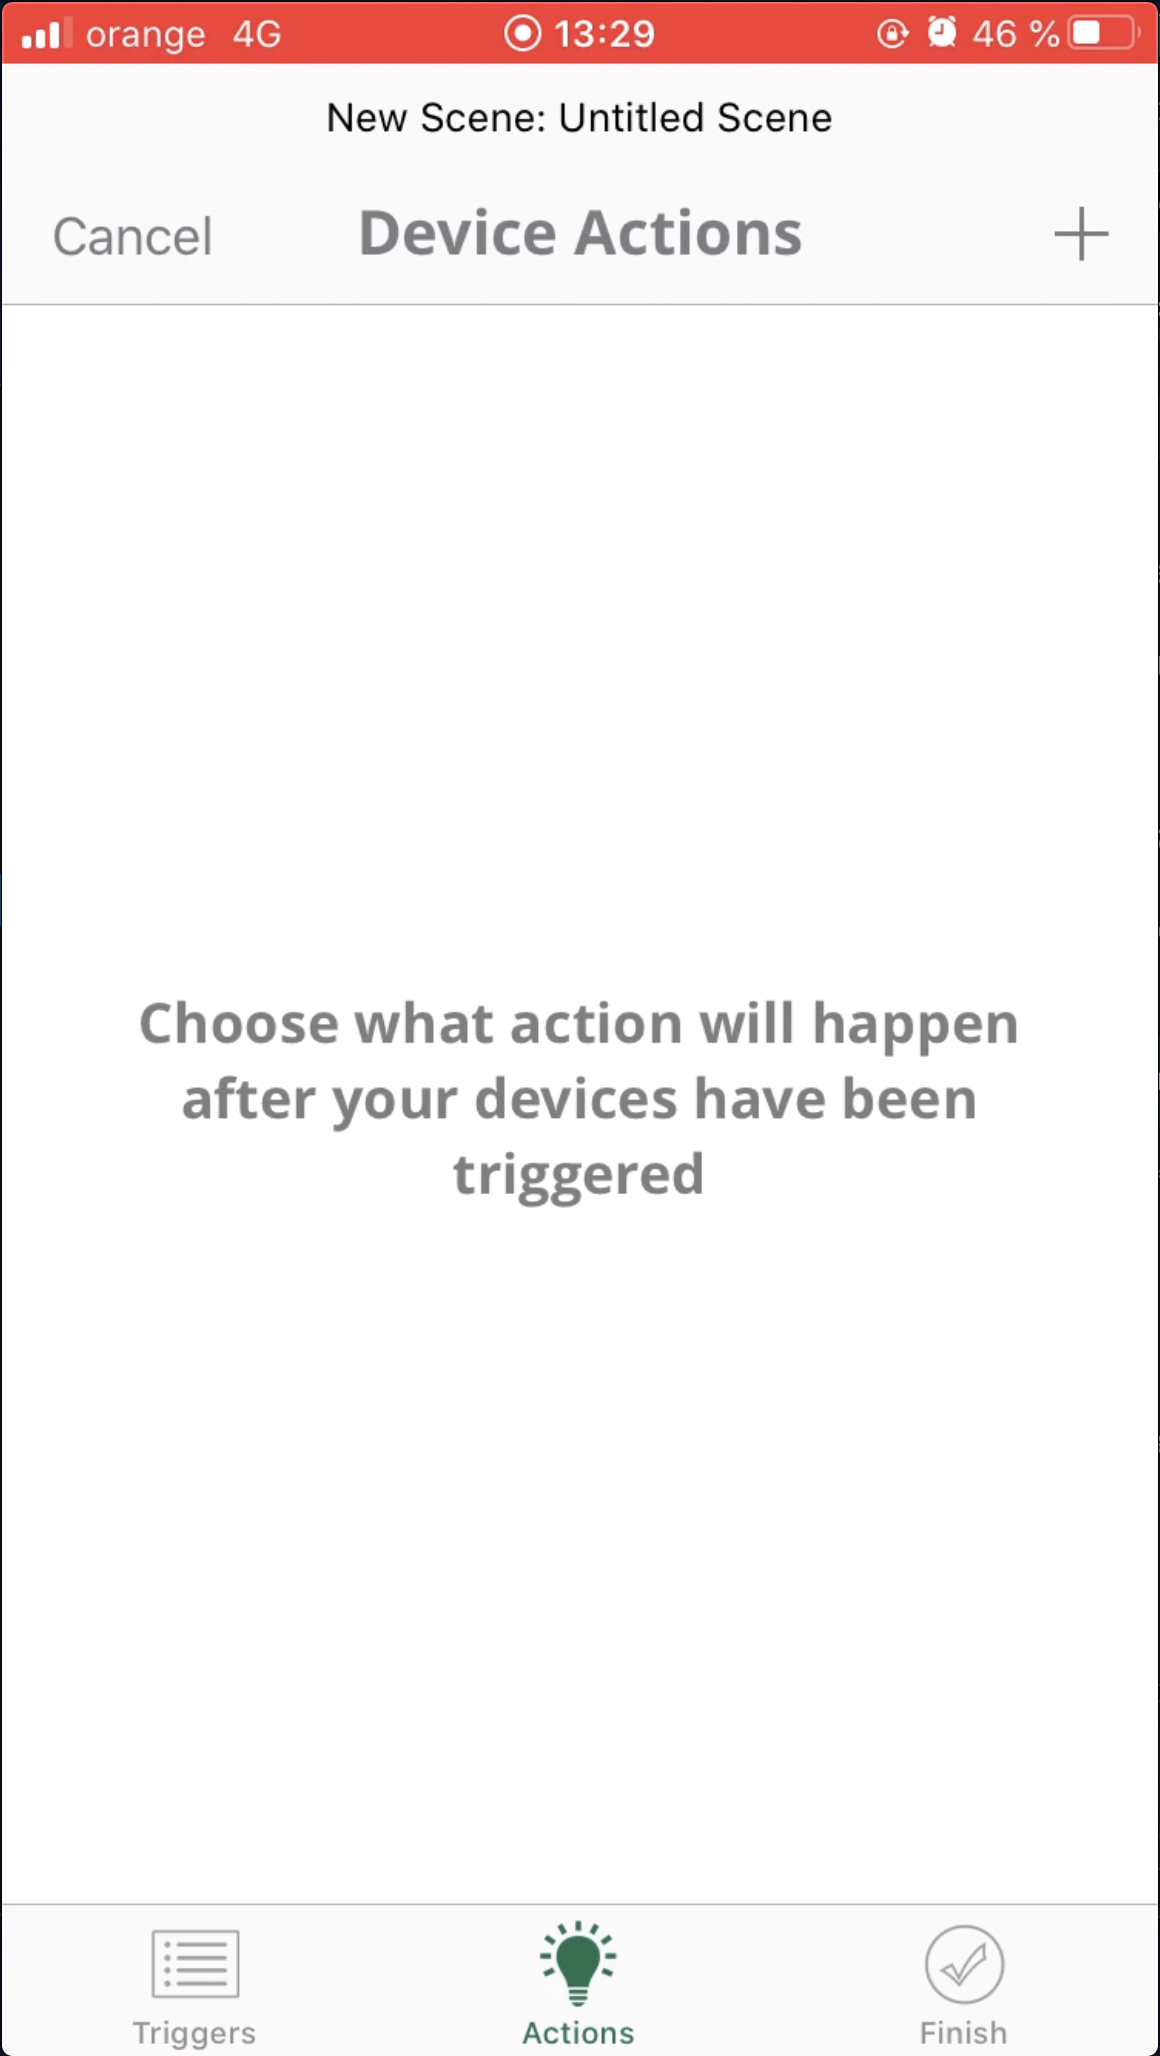
1. You can create scenes with any type of trigger and add the voice assistant device in the actions section
2. You will see the voice assistant device in the Actions section, among all the other devices that are added to your hub
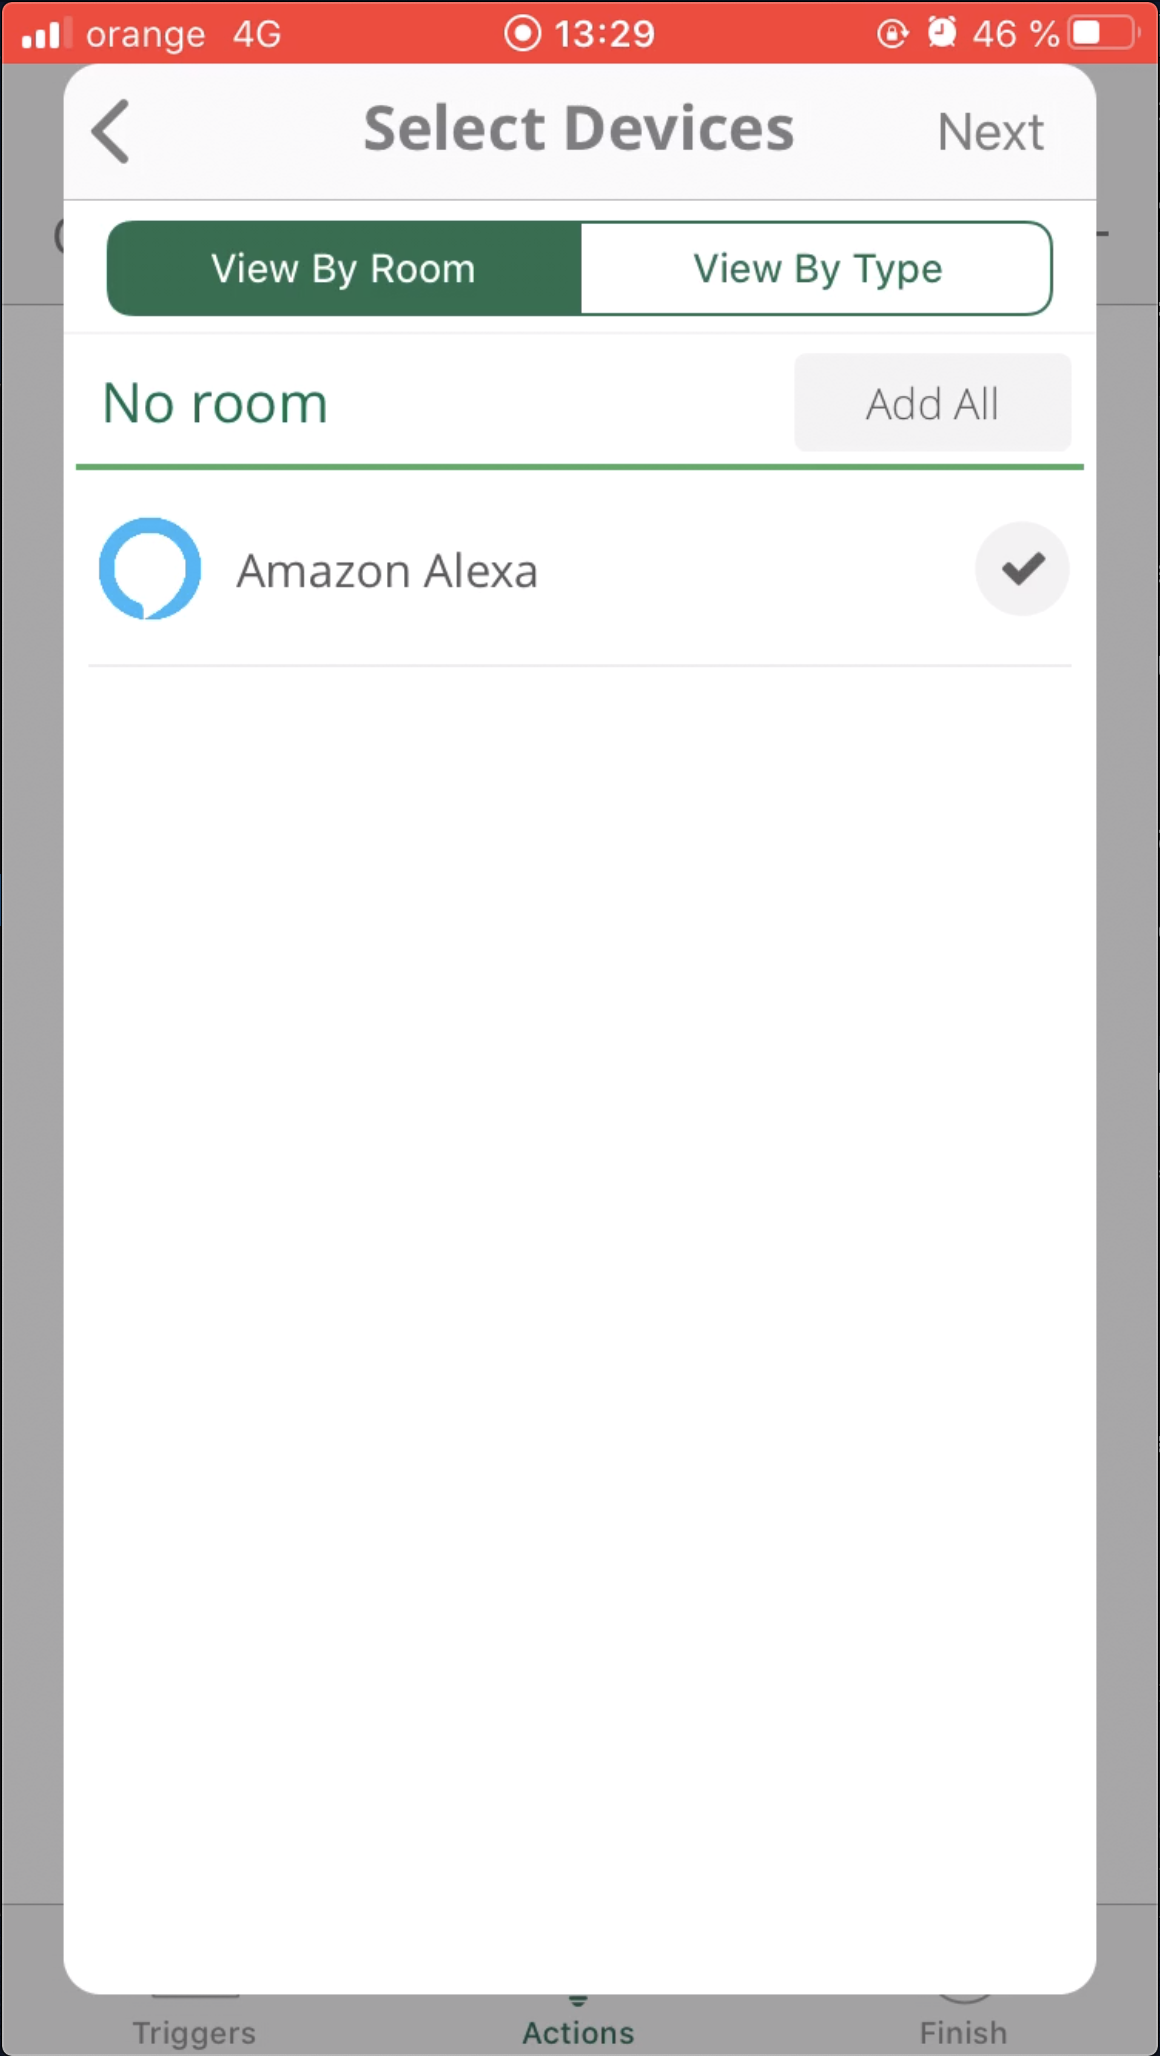
3. In order to add an action for the voice assistant device, you will select the device (Alexa/Google)
4. And you will be redirected to the next page, where you can enter the command (by writing it or by voice)
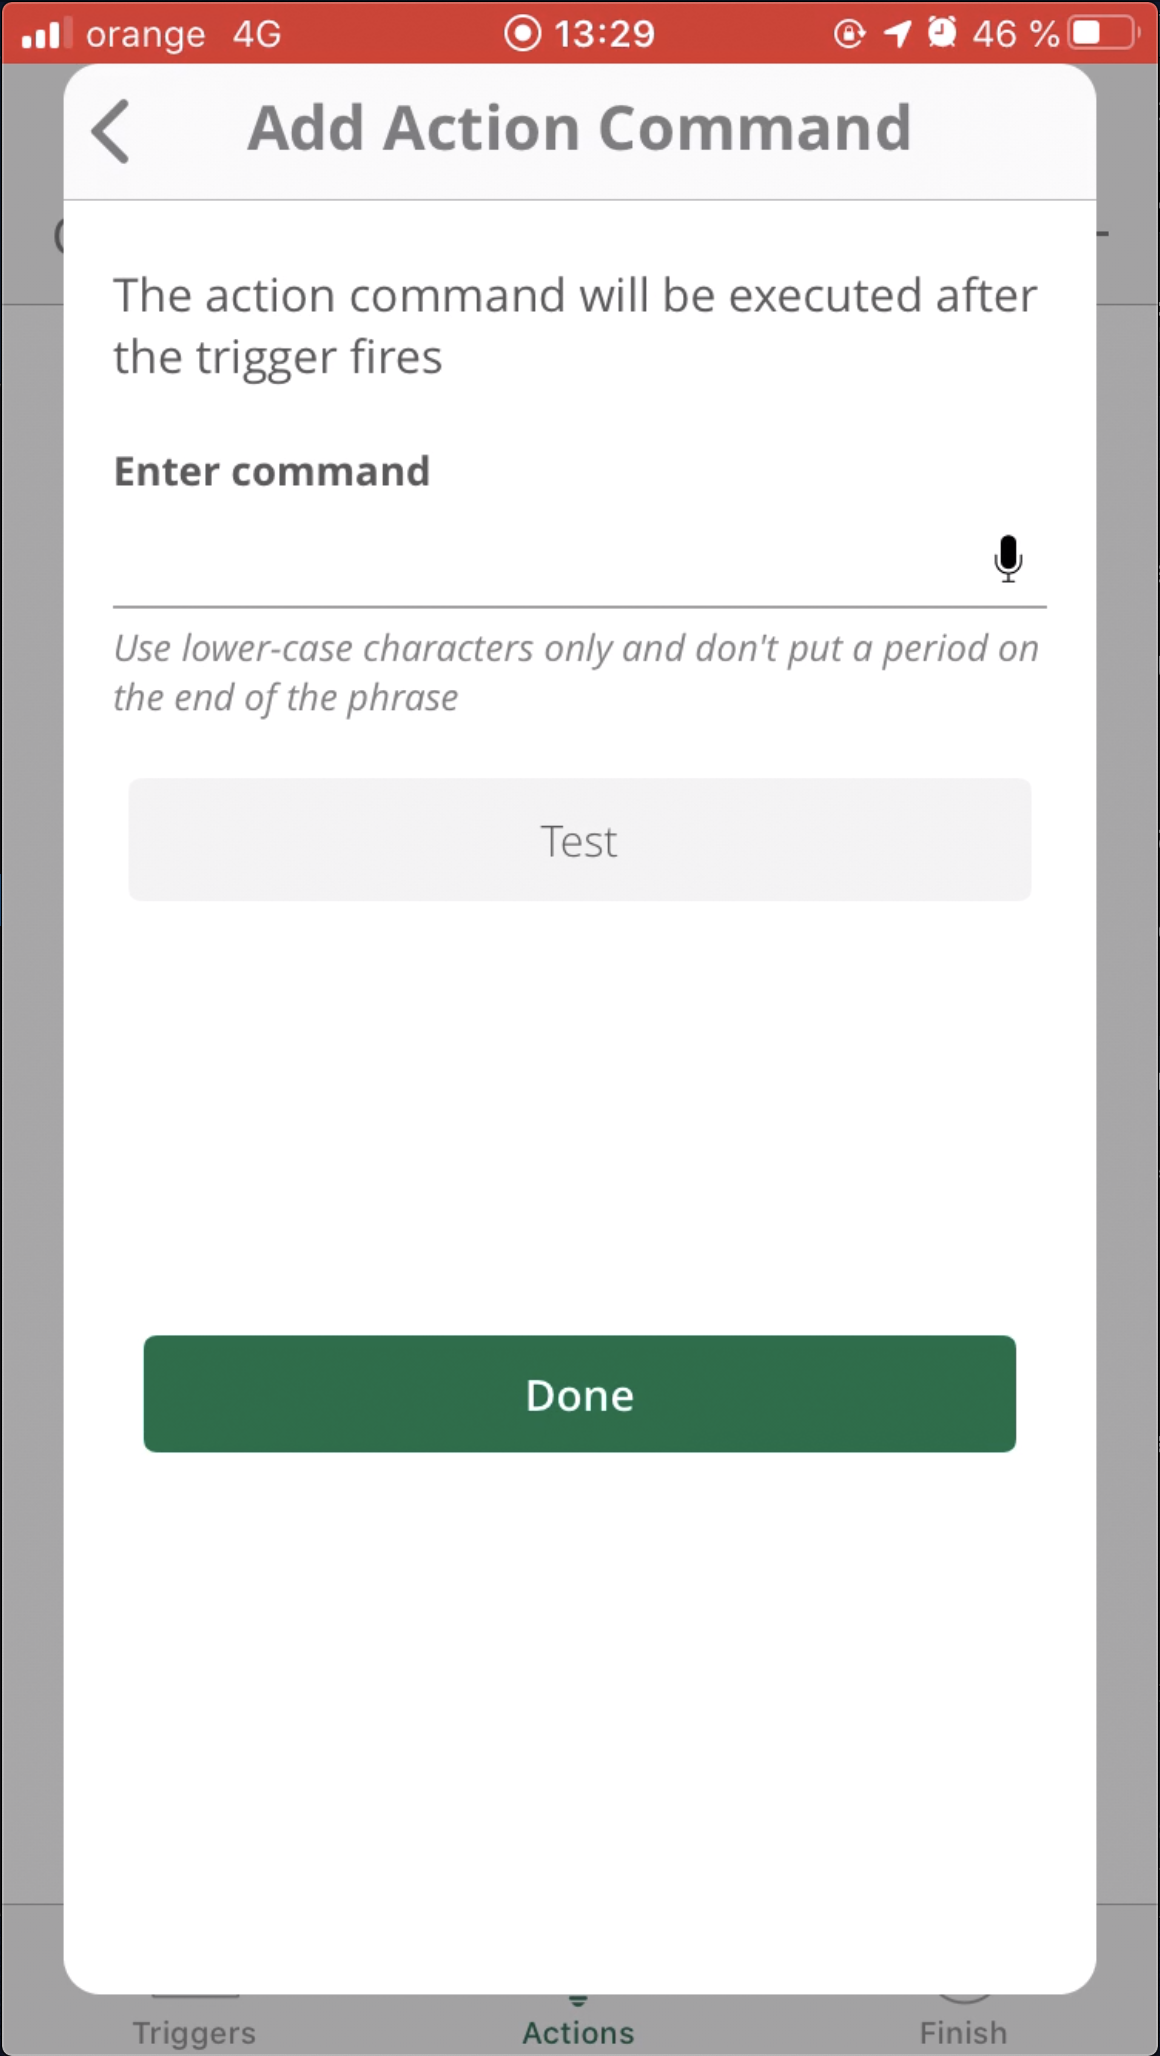
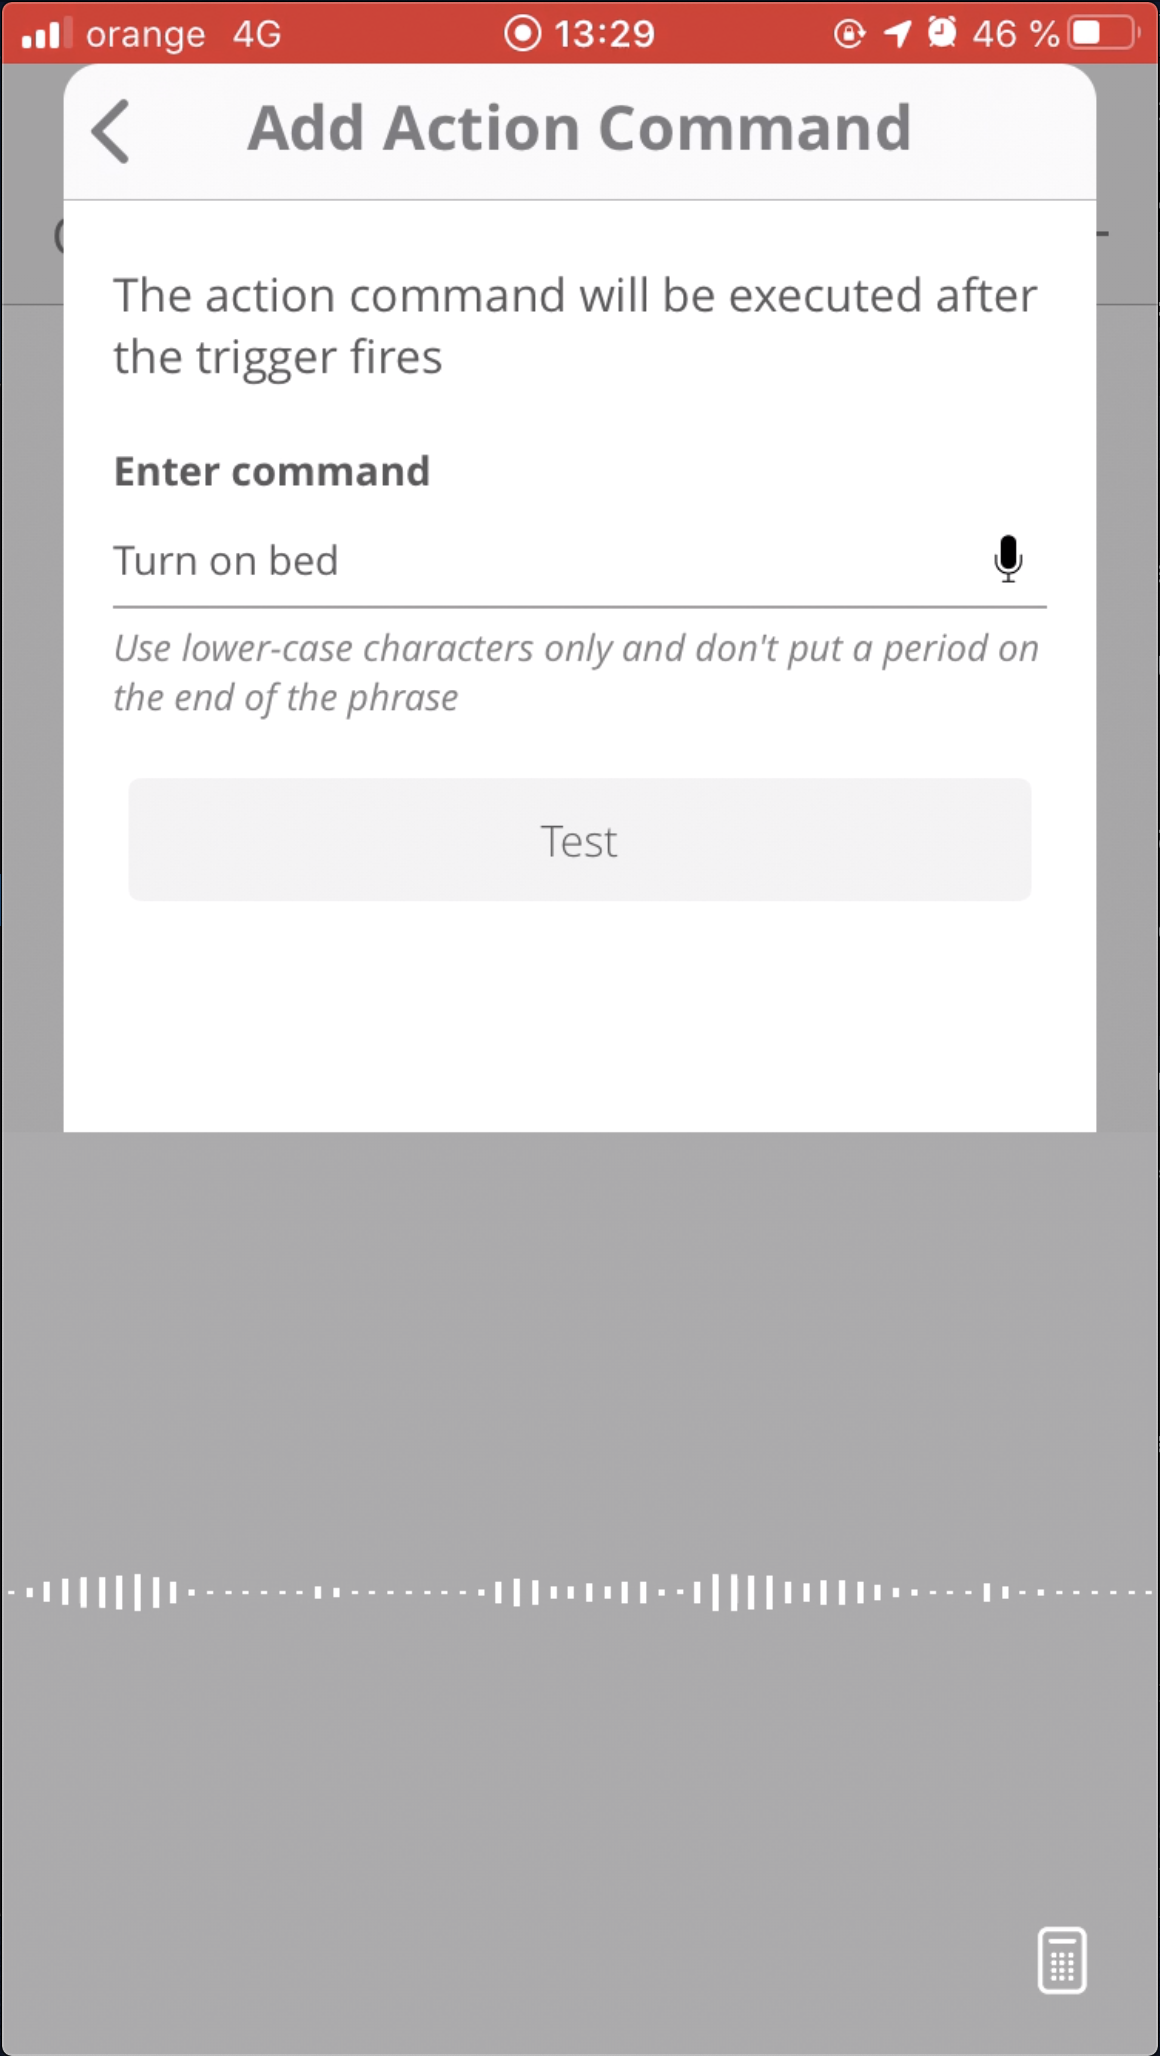
5. Add action command page:
a. You can tap on the microphone icon and record the message.
b. The recorded message will be automatically displayed in the text input box
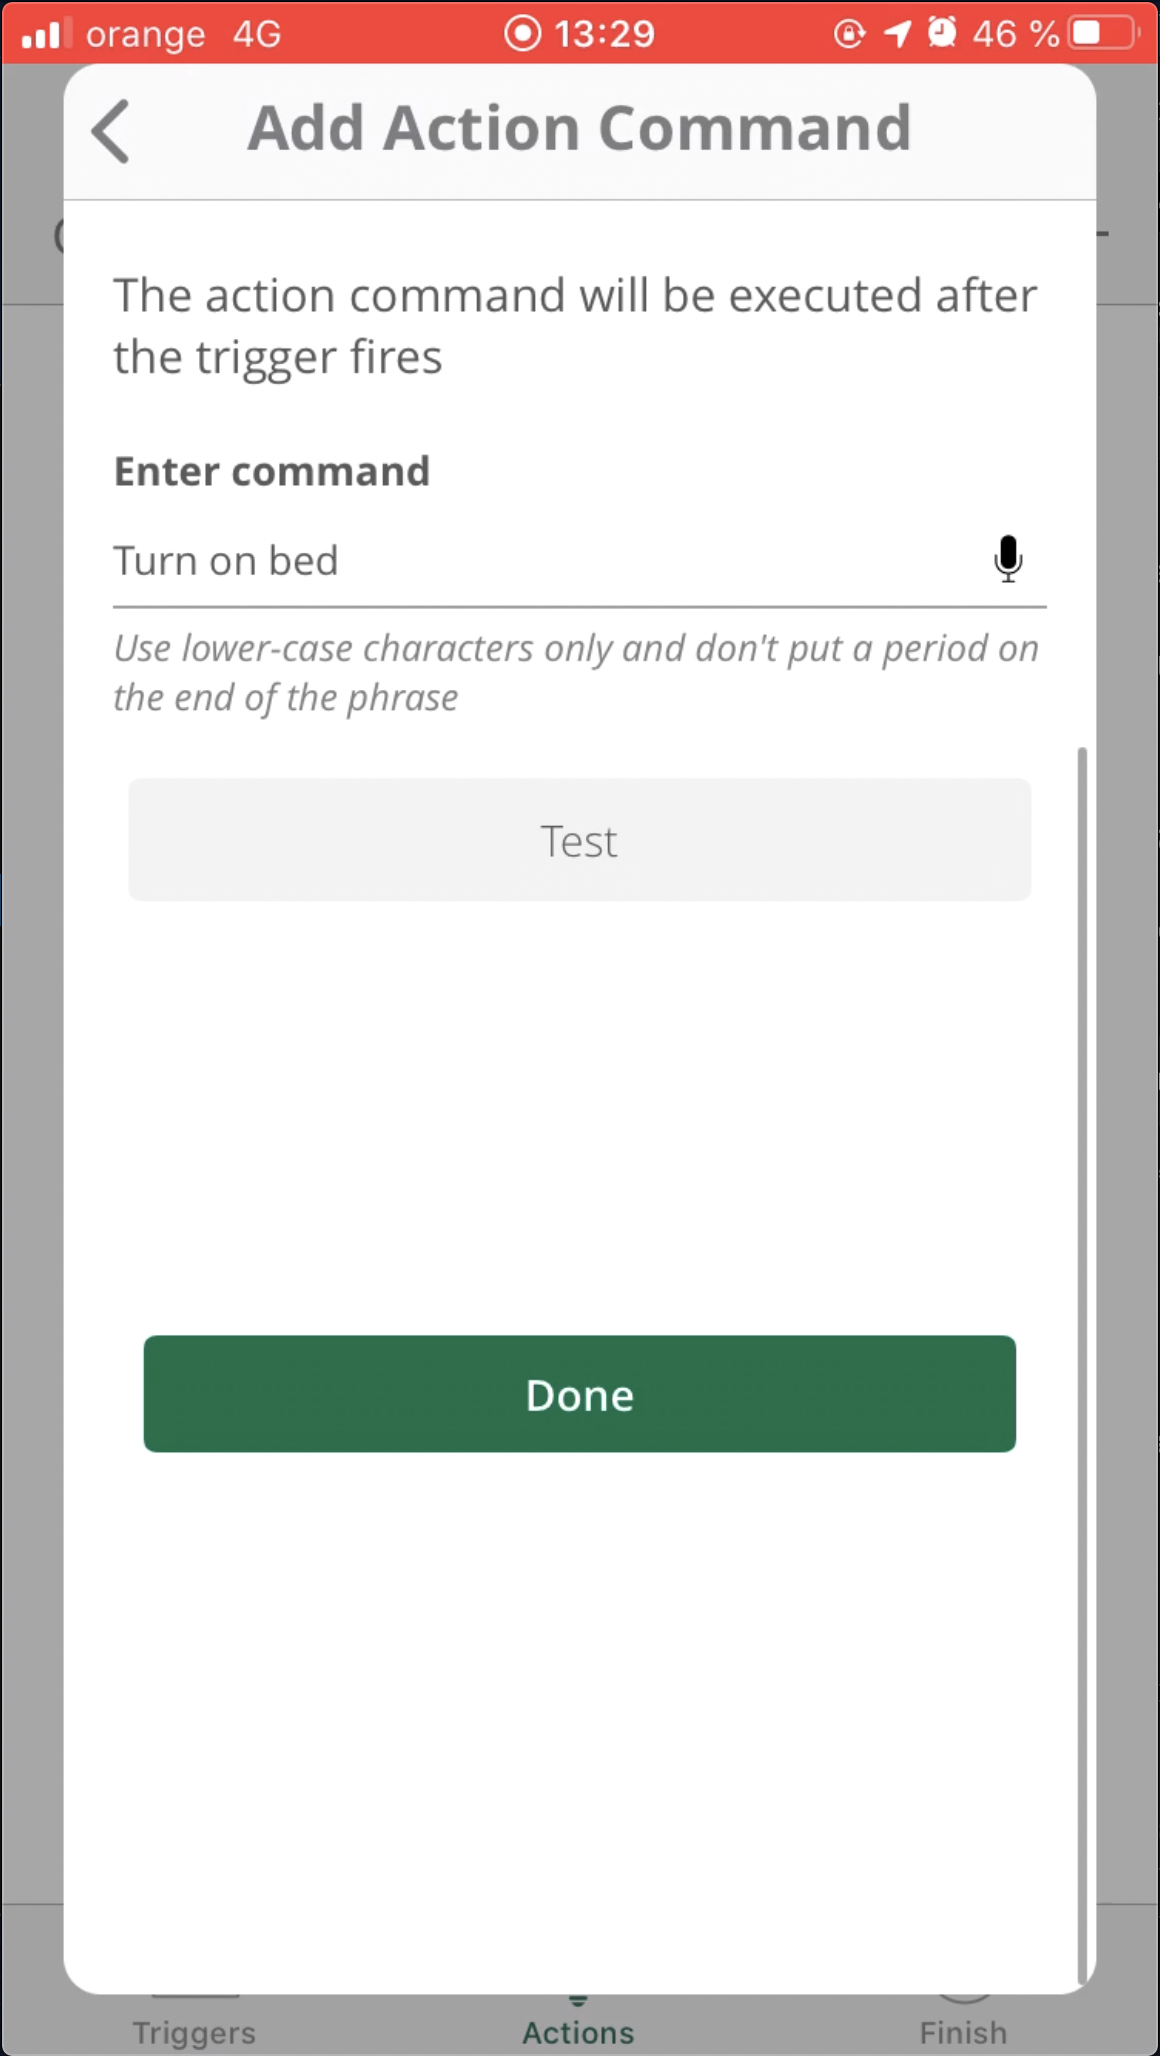
c. You can edit the displayed text
d. Press on the Test button will activate the command and will run at that moment
e. In order to have the Alexa/Google command automated within your scene, please make sure you follow the scene creation flow until Step 3 and save it.
Scenes with multiple voice commands
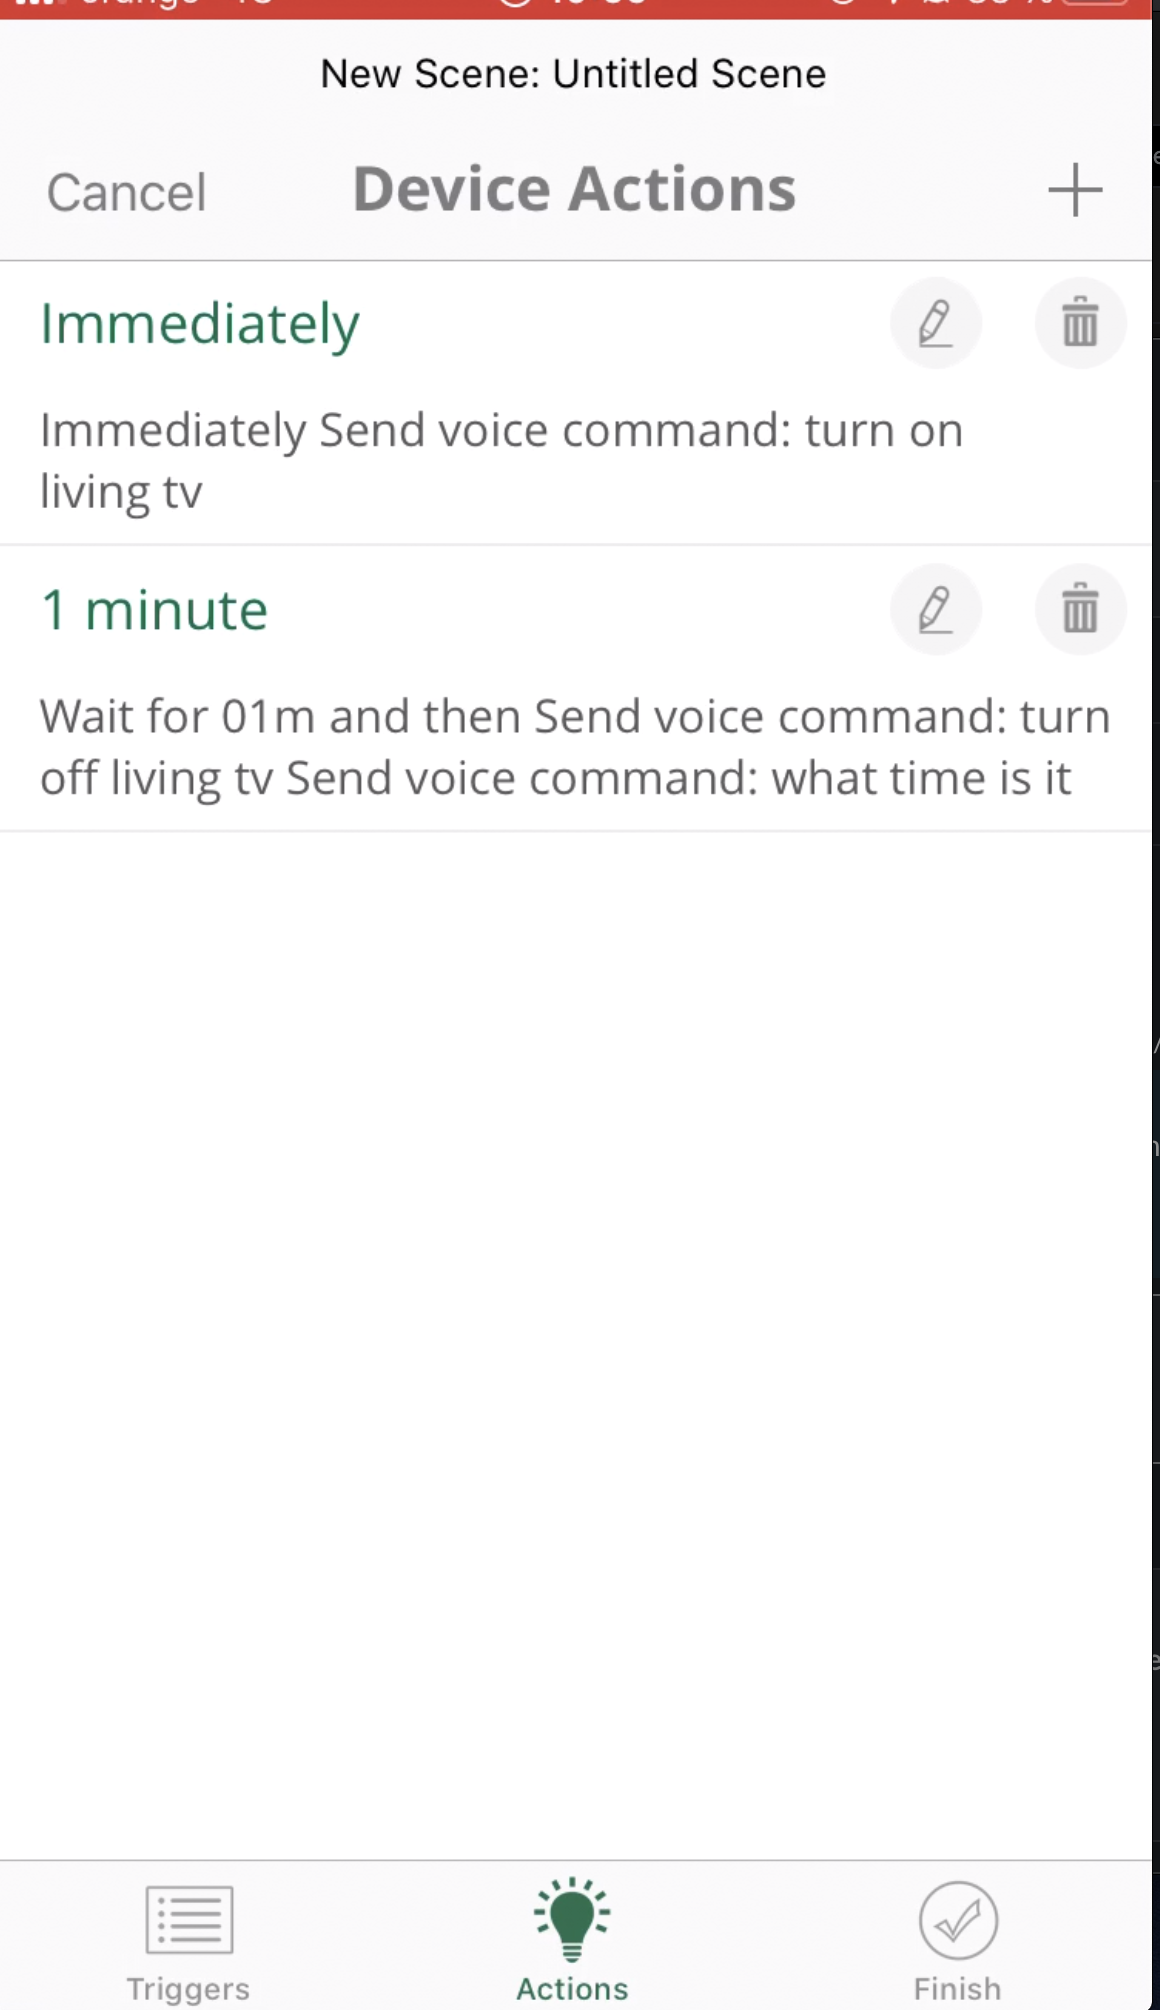
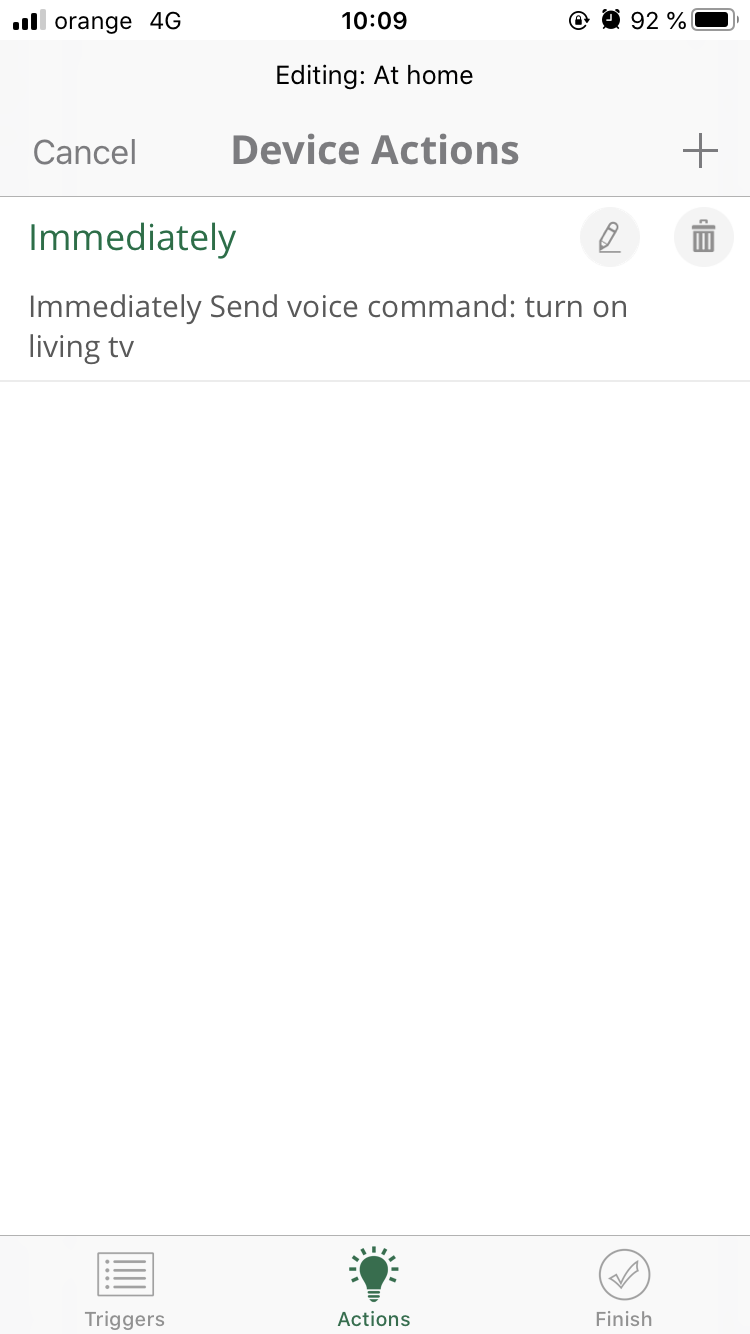
6. Add multiple commands for your voice assistant in Scenes. In order to add more than one voice command to your voice assistant, you'll need to add delayed actions.
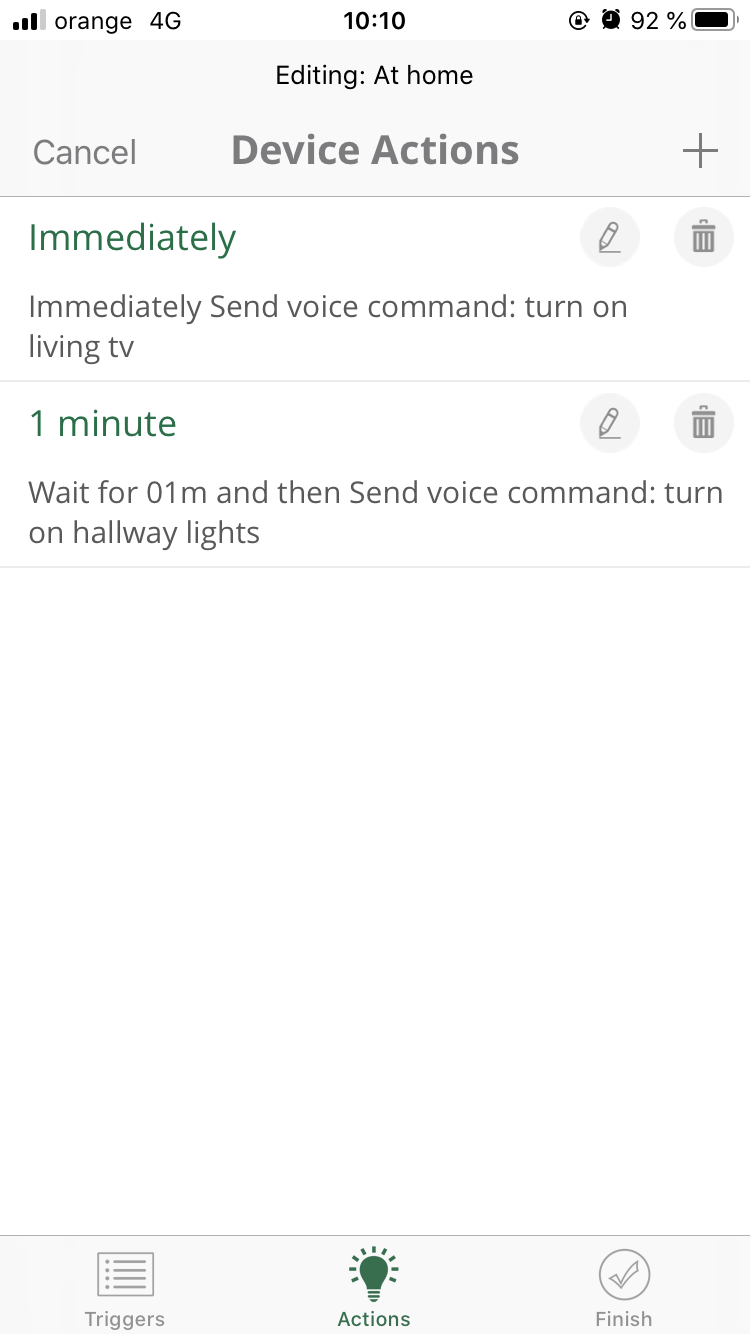
a. On Add Action page add the first action, for example: Immediately Send voice command: turn on living tv
b. While you are still on Add Action page, tap again on the + (plus) button and add an action with delay: Wait for 1m and then Send voice command: turn on hallway lights

Unlink Account
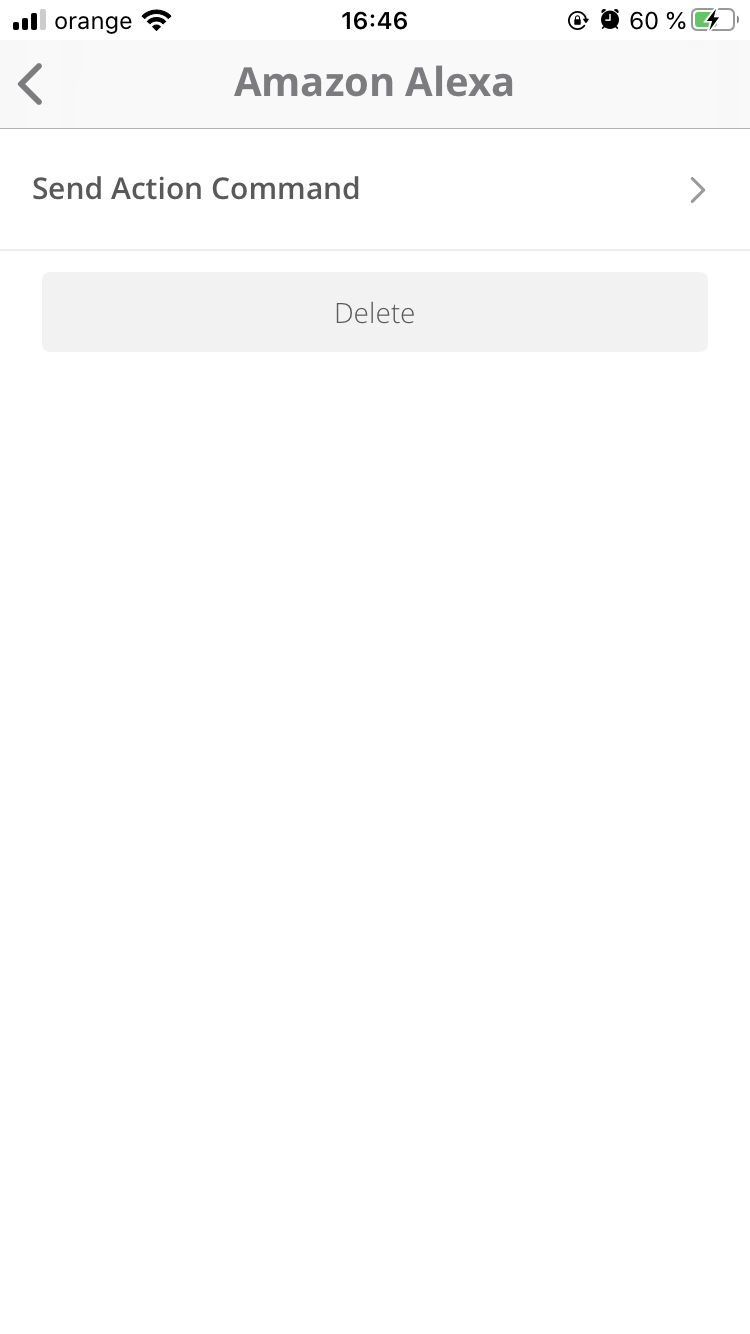
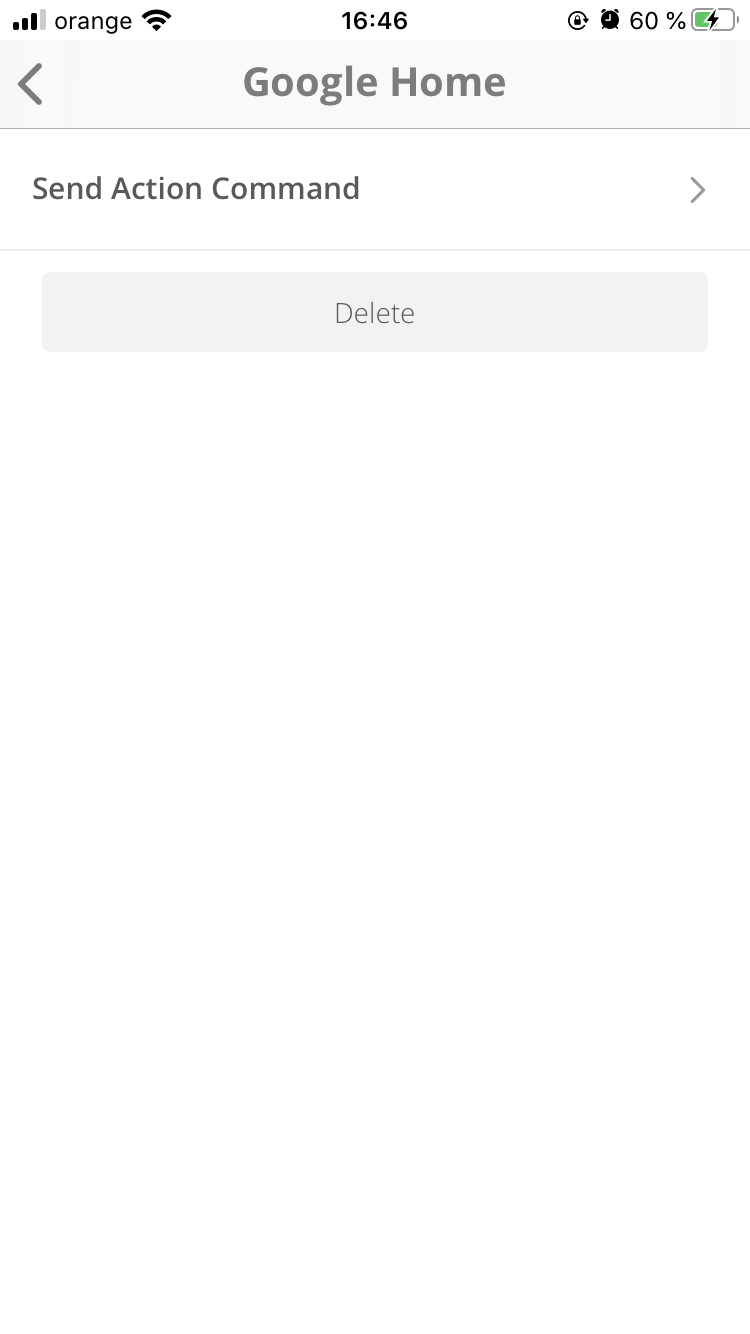
1. You can unlink the Alexa/Google account by going to Devices > Alexa/Google device > open Settings
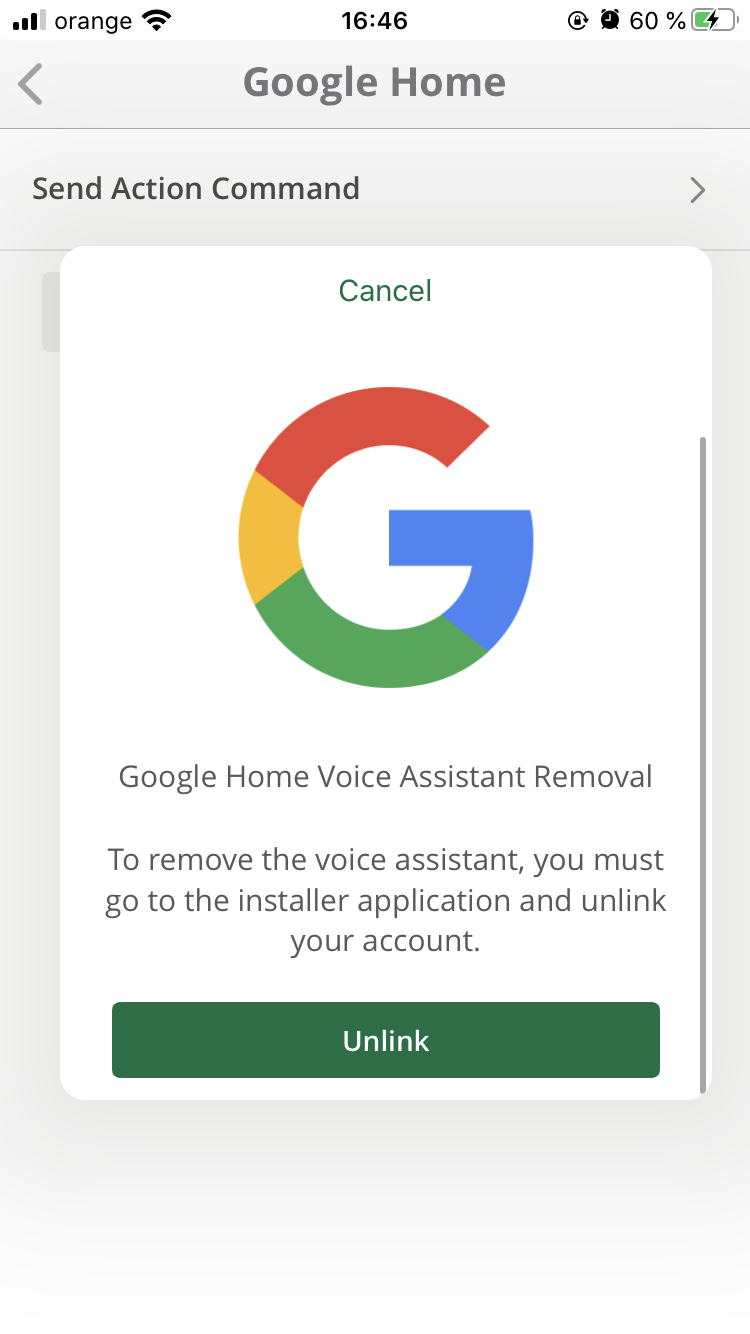
2. Tap on the Delete button that will present you with the next step, going to the installer apps.

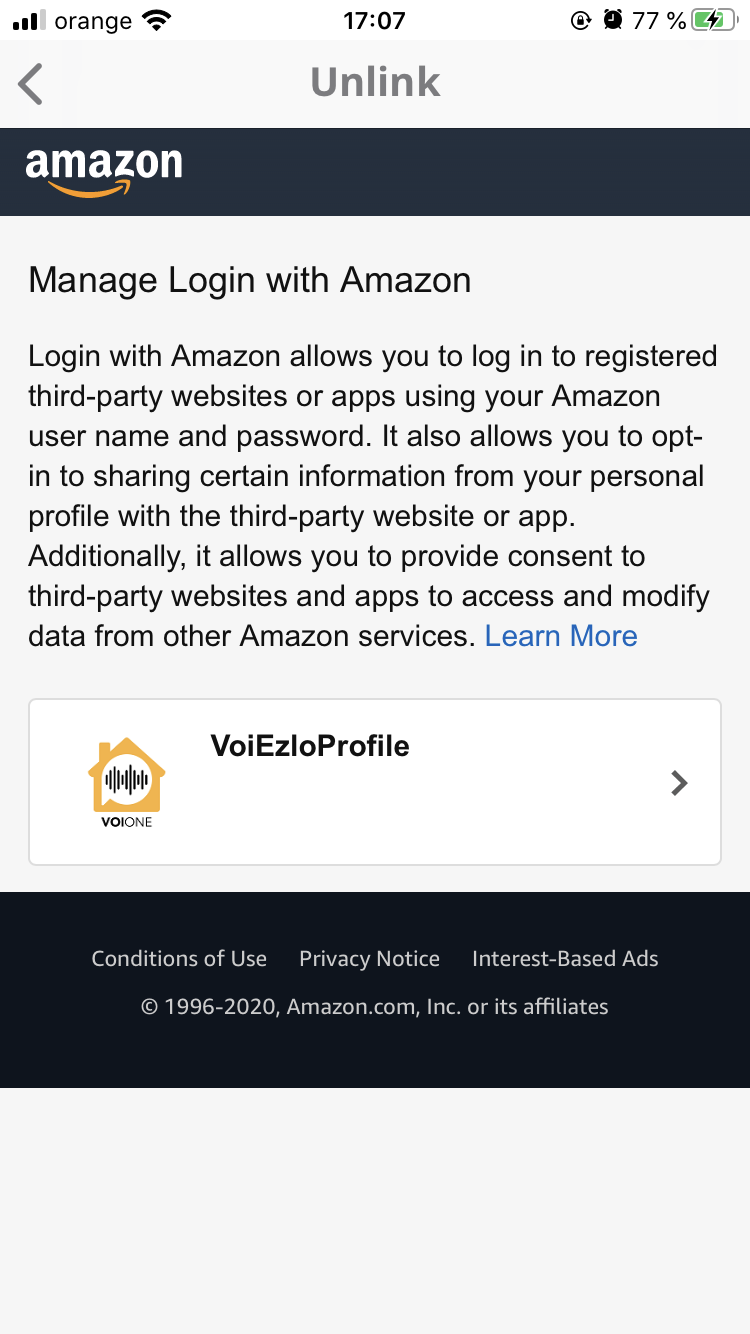
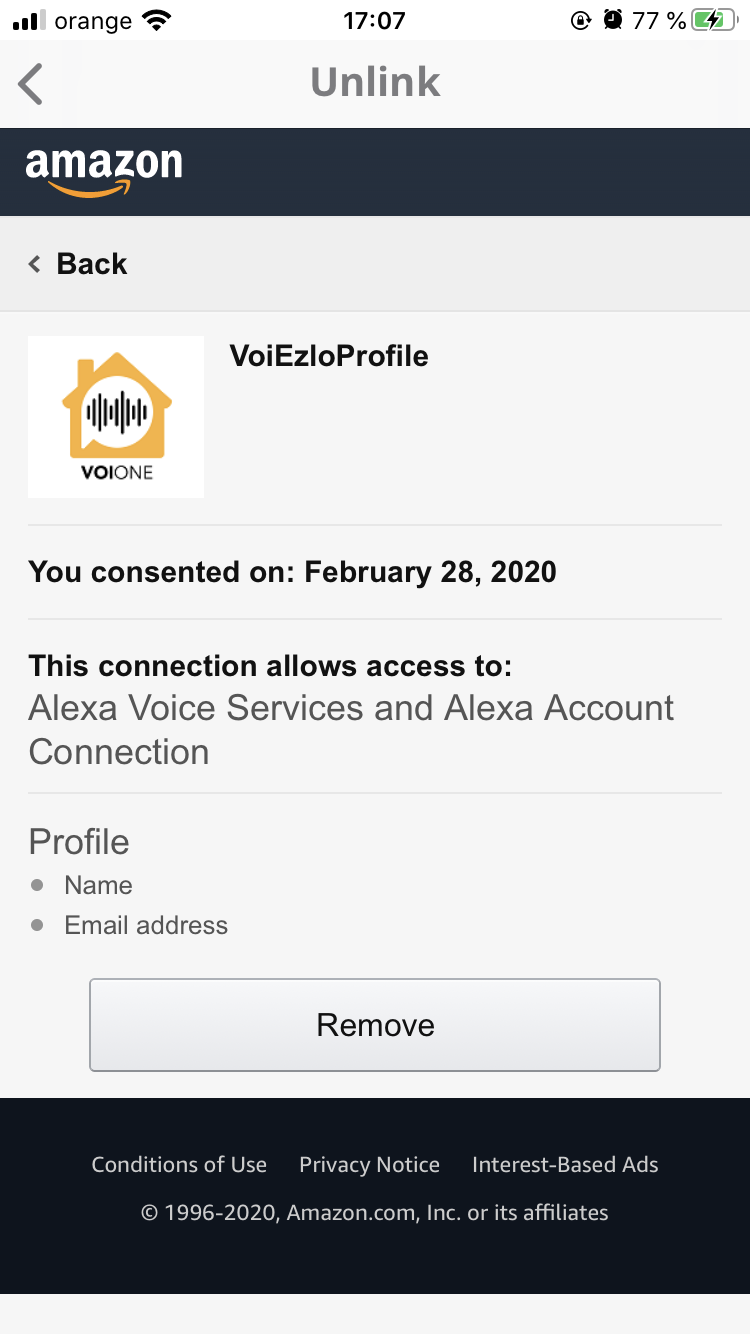
3. For Alexa you need to select Ezlo VOI™ profile and tap on Remove.
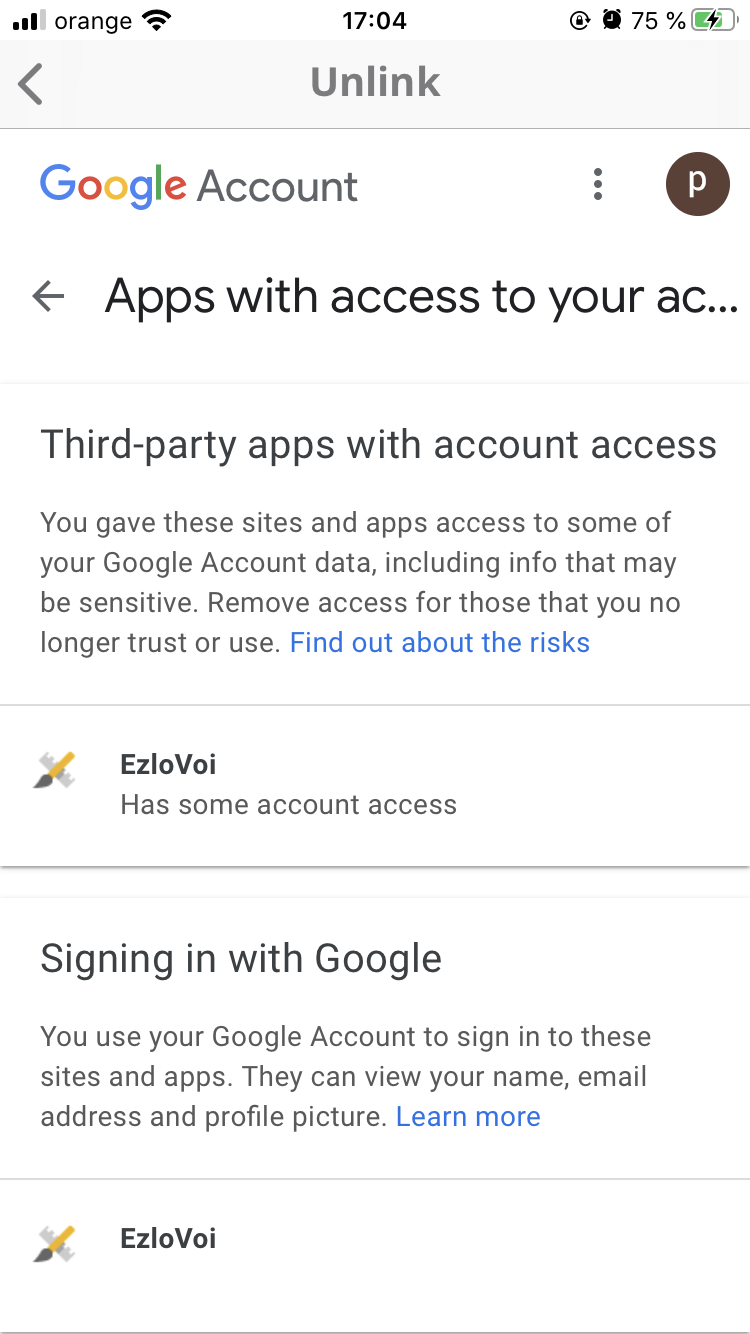
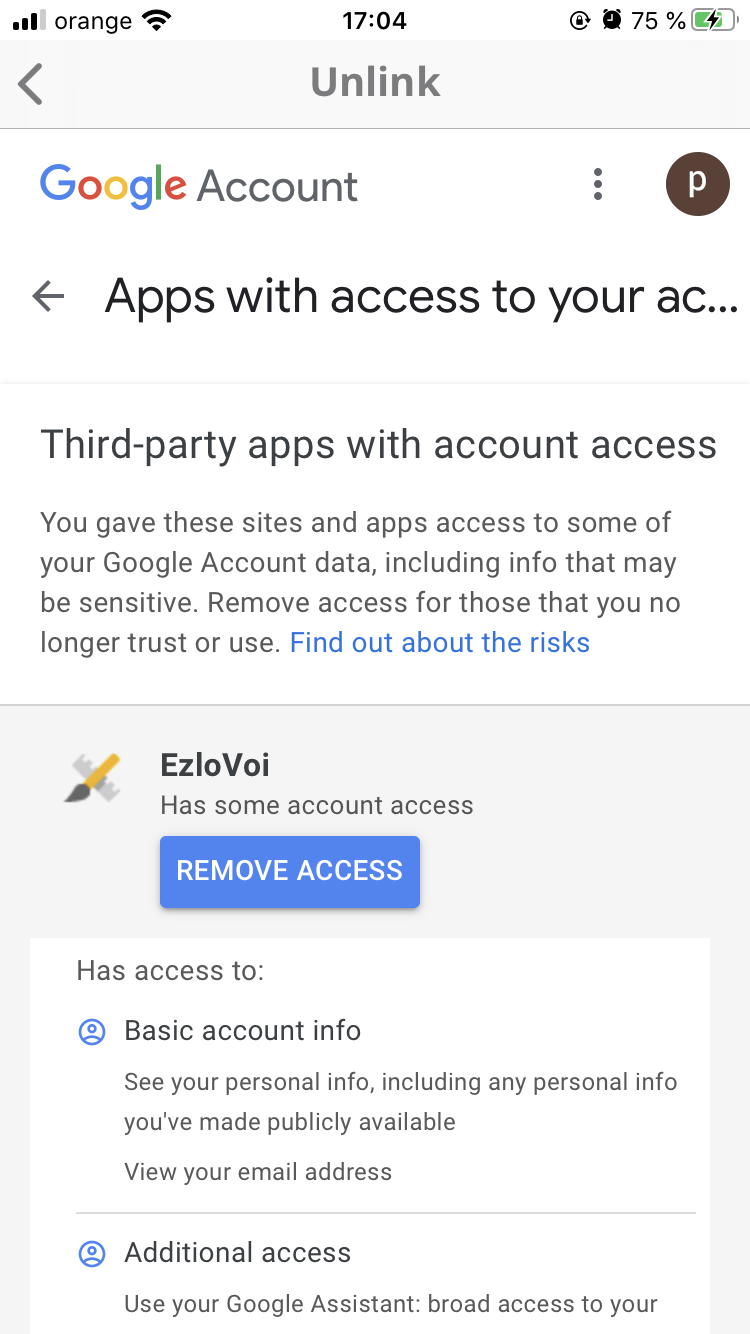
4. For Google you need to select Ezlo VOI™ profile and tap on Remove.
Prerequisites:
- Ezlo Atom, Ezlo PlugHub, Ezlo Plus, Ezlo Secure, New Linux Firmware on Vera Edge controllers
- iOS 9+
- Android 8.1+
You can check the most common commands that can be used with Ezlo VOI™ and Alexa or Google here:
Comments
0 comments
Please sign in to leave a comment.